
Do not index
In this tutorial, we’ll use Integrations directory to build a social media bot that will let us post to platforms from directly within Airtable, and automatically generates images for our post.
Table of contents
1. Setting up our base2. Finding an integration to create marketing images3. Setup Placid4. Creating the first automation in Placid5. Finding an integration to post to social media6. Set up Ayrshare7. Start the post to social media script8. Add the record picker example to the script9. Update the script to reference the correct record data10. Mark a record as posted once it successfully runs11. Create the add a script button and trying it out 🎉More resources and guide for Integrating Placid, Ayshare and Airtable
1. Setting up our base
For this tutorial, you can copy the Airtable base with sample data here.
Let’s take a look at our base first. We have a list of social media posts with the headline, company name, link and post content and we’ll want to fill out the image, image URL, and this posted checkbox.
Fields | Type | Definition |
Headline | Text | Headline text for the autogenerated image |
Company Name | Text | Name of the company that’s the source of the link |
Link | URL | Article link |
Post Content | Long Text | Social media text that will get shared on Linkedin and Twitter |
Image | Image | Image file for the social media content that will be generated by Placid |
Image URL | URL | Image URL that will be generated by Placid |
Post to social media | Button | Post to social media button that will generated our content and post to twitter and Linked |
Posted | Checkbox | If our script successfully posts to social media it will also check this box |
With our social media content filled out, up next is enriching the rest of the fields and a few more steps.
- Fill out the rest of our database with the autogenerated images, and image urls from integrations.directory
- Post our content to social media when we trigger the post
- Set our record to posted once the operation is complete
2. Finding an integration to create marketing images
With our goals in mind, let’s head over to integrations.directory so we can look for our first integration.
First up we’ll go to browse the directory and we can try to search “generate images”. Integrations directory search is flexible, each entry has SEO keywords to help you most easily find a solution for your query.
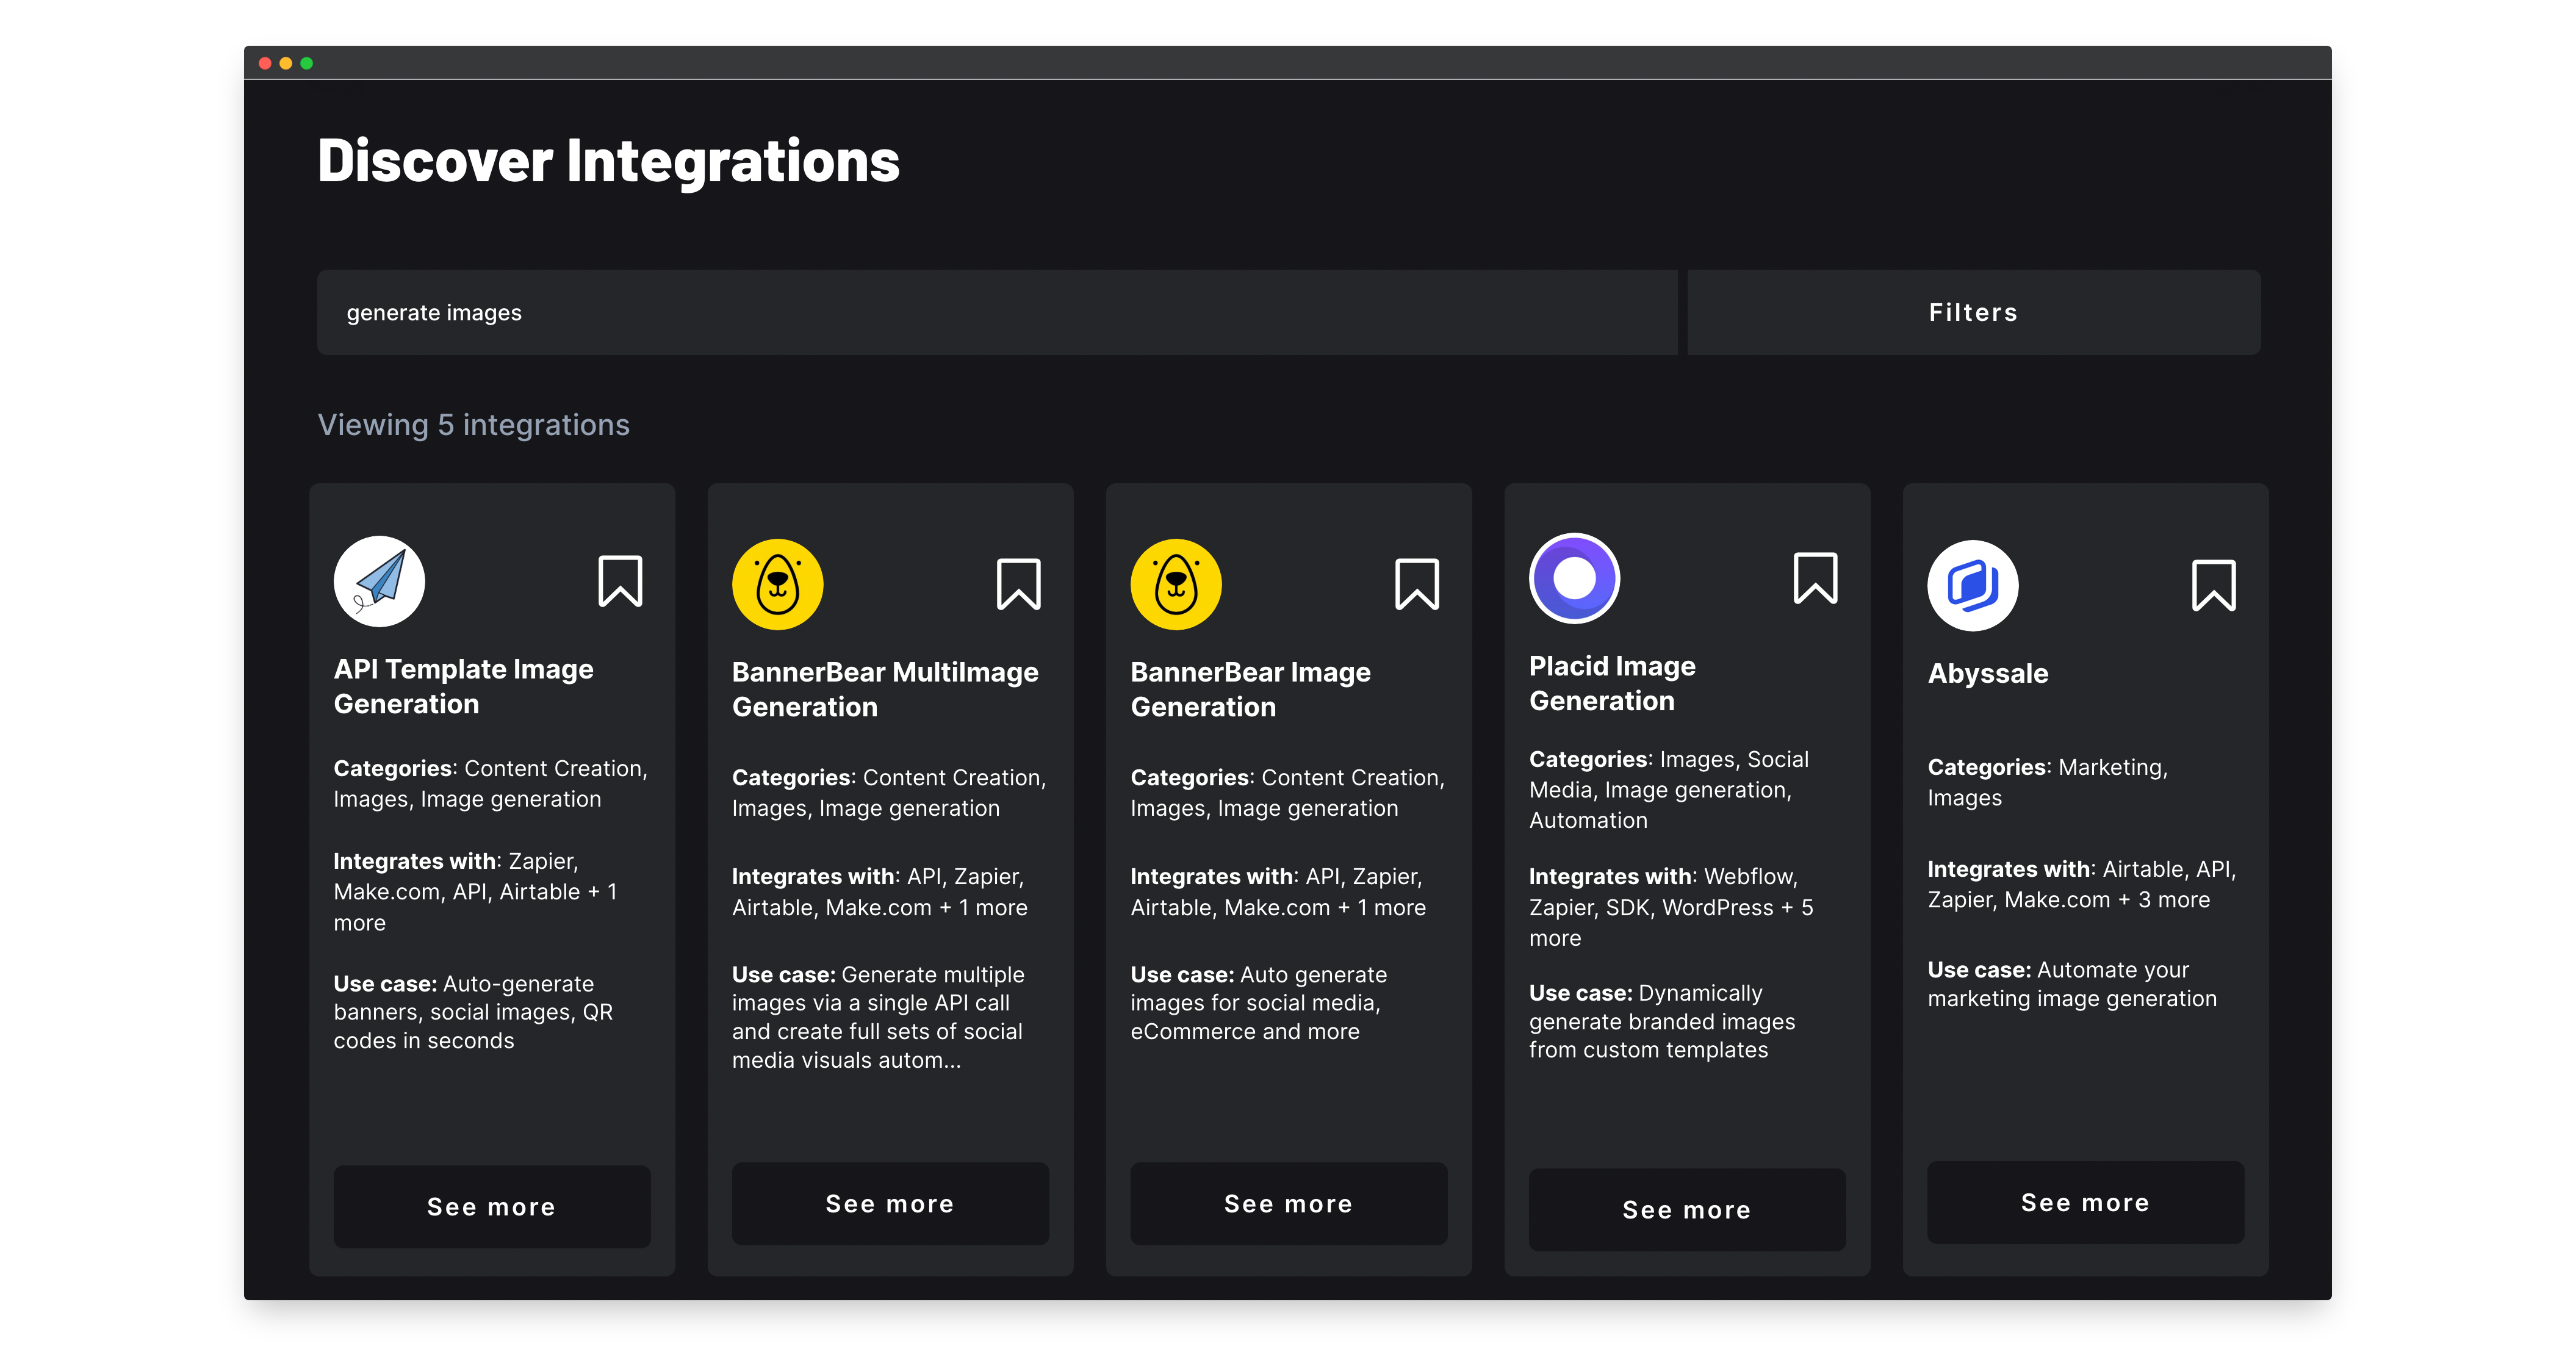
We have 5 integrations, let’s see if filtering by Airtable , and products with Free plans and free trials whittles down the list any.
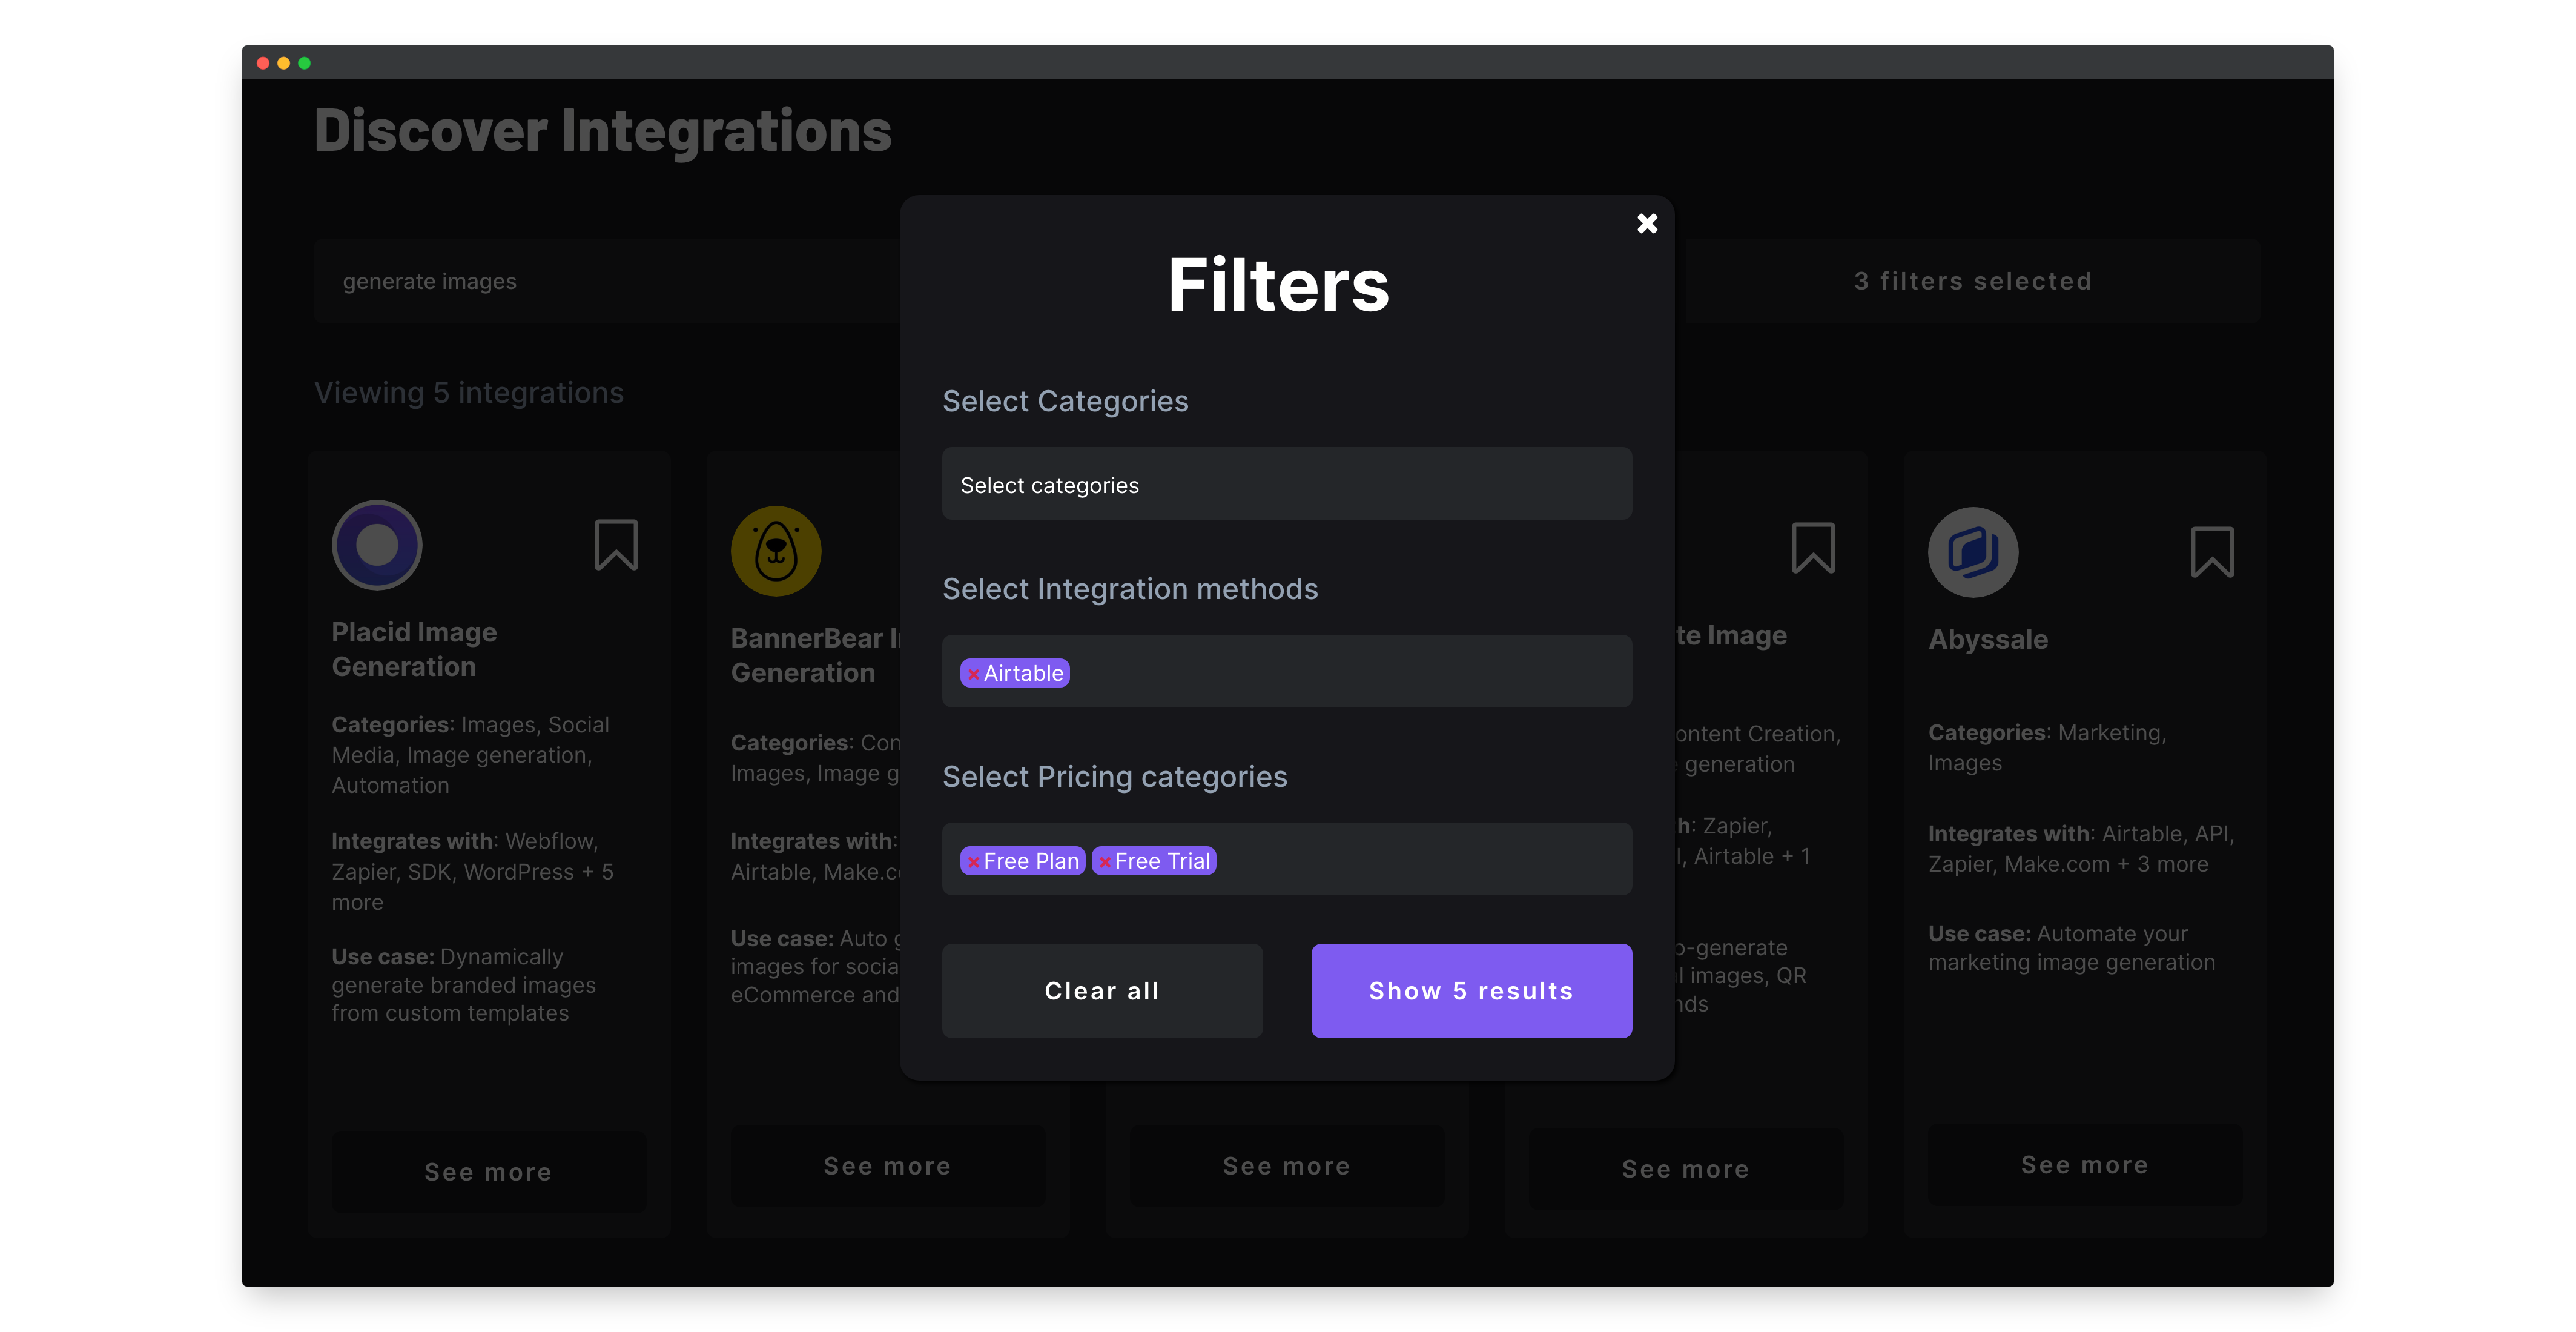
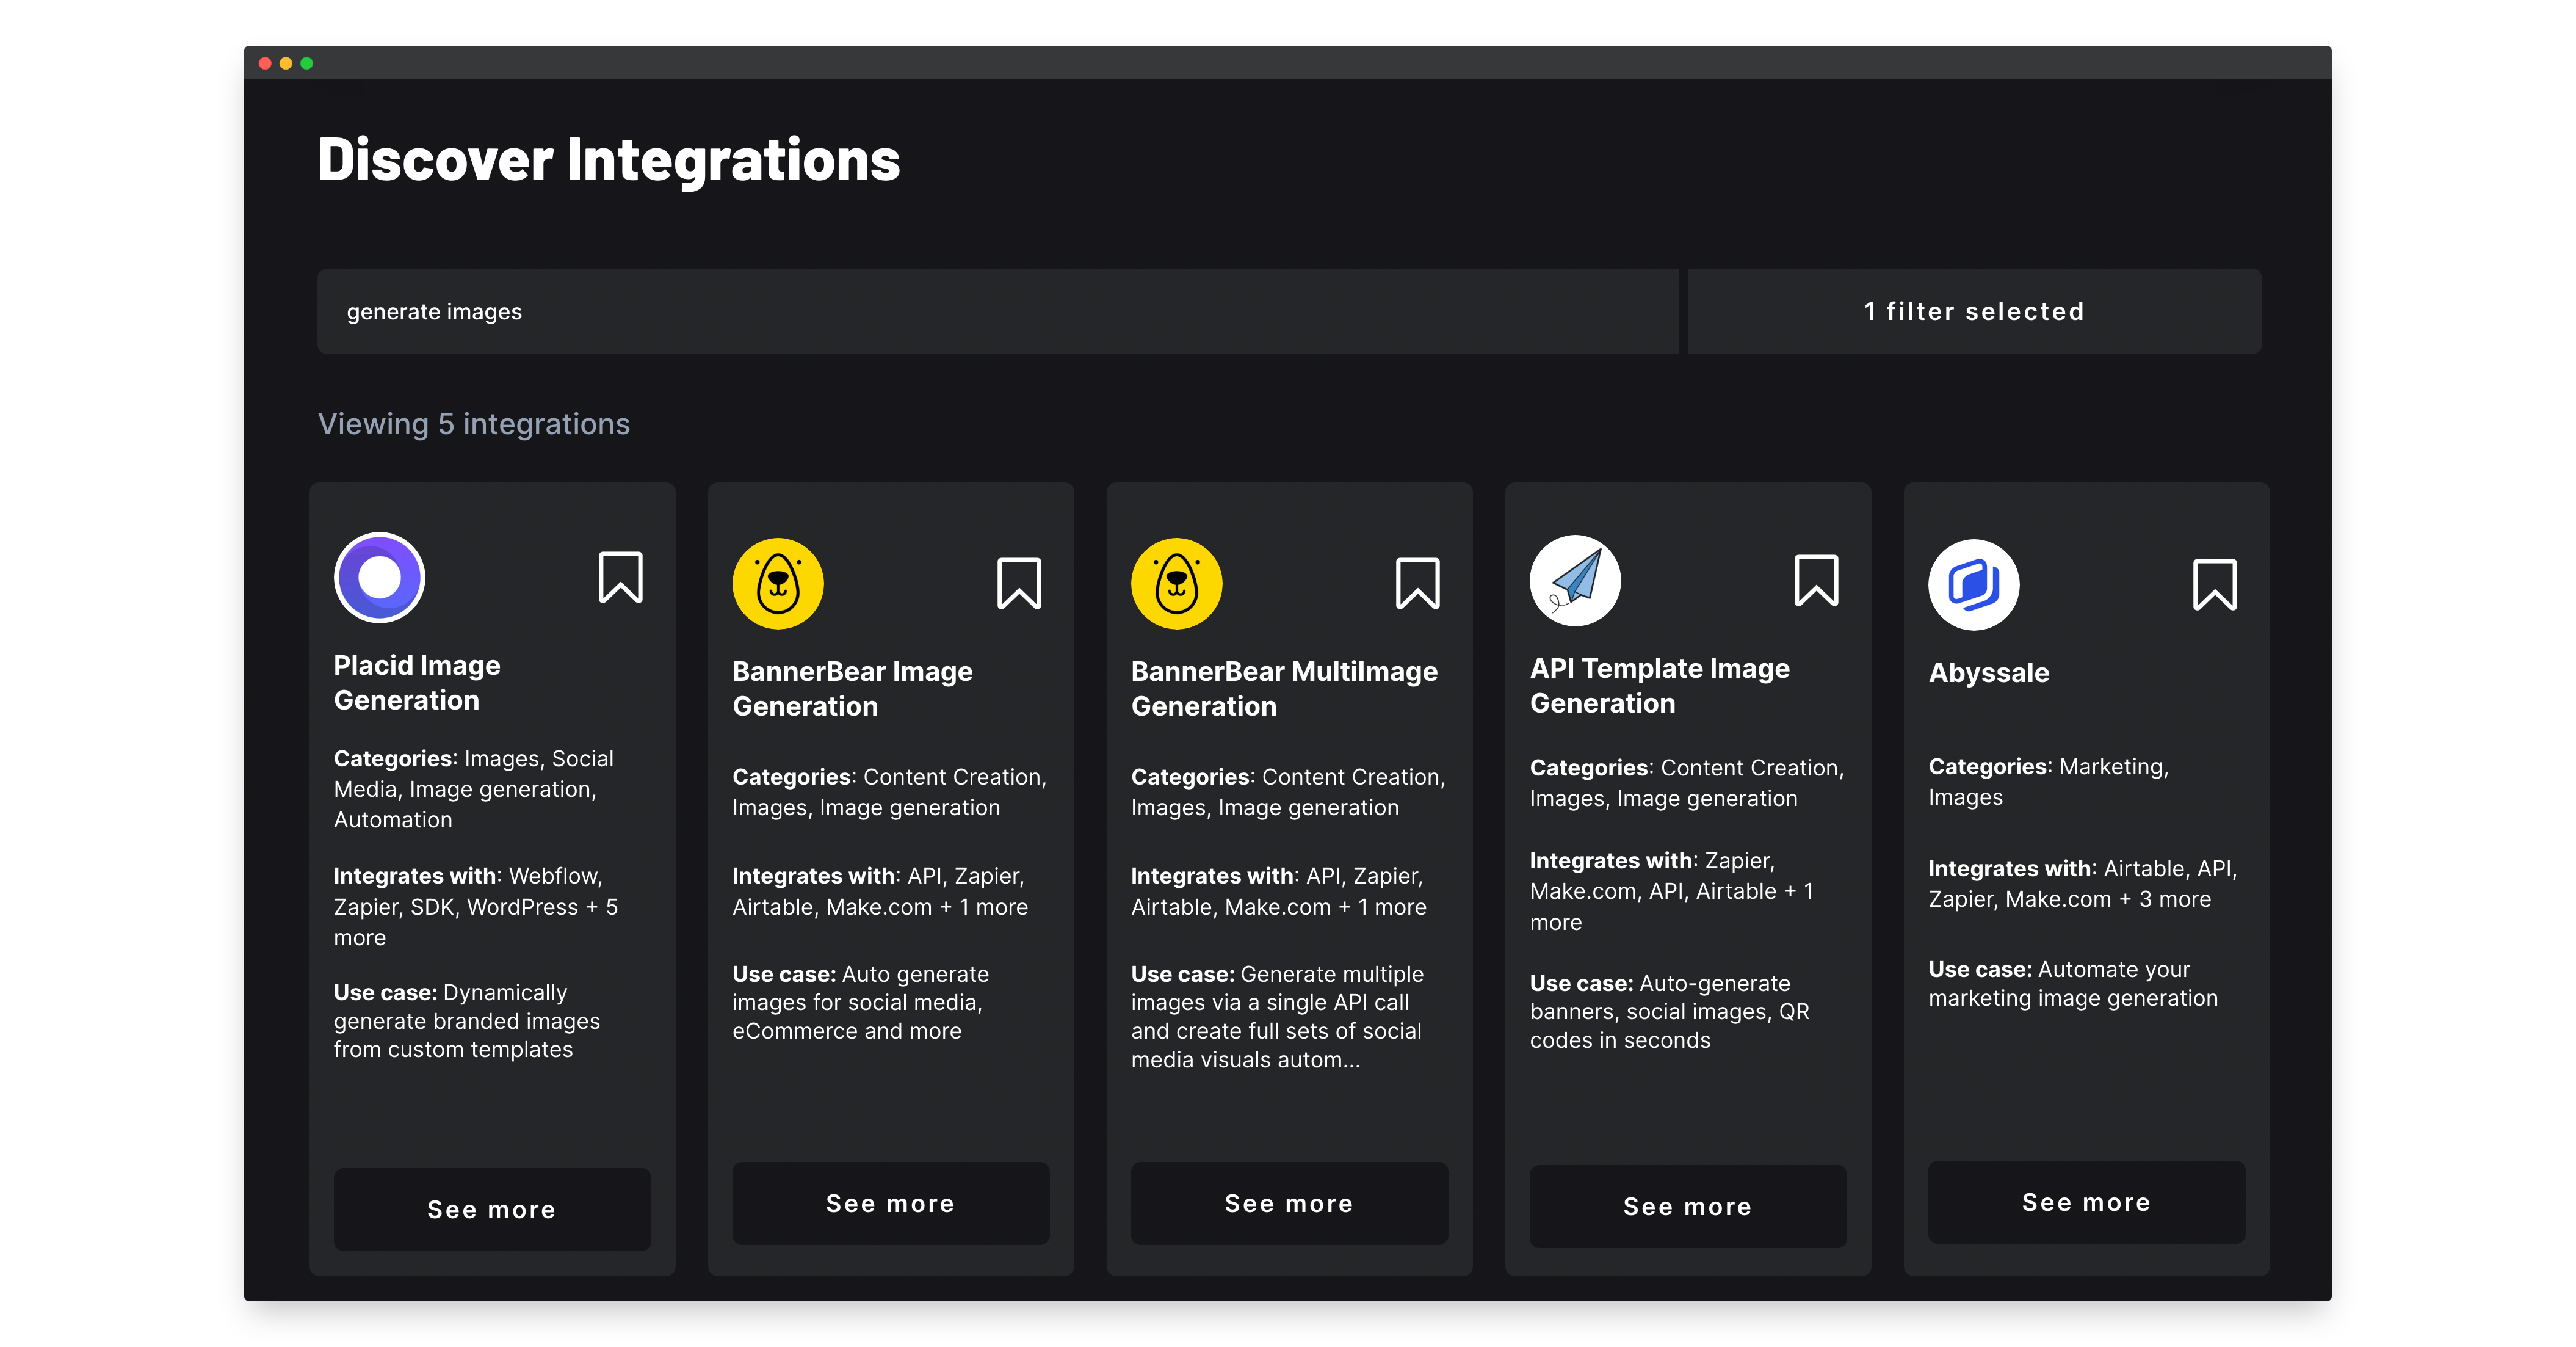
It doesn’t but we can go with the first one, let’s see more to see the integration. Our integration page has a few details about Placid as well as the direct link to the integration’s website.
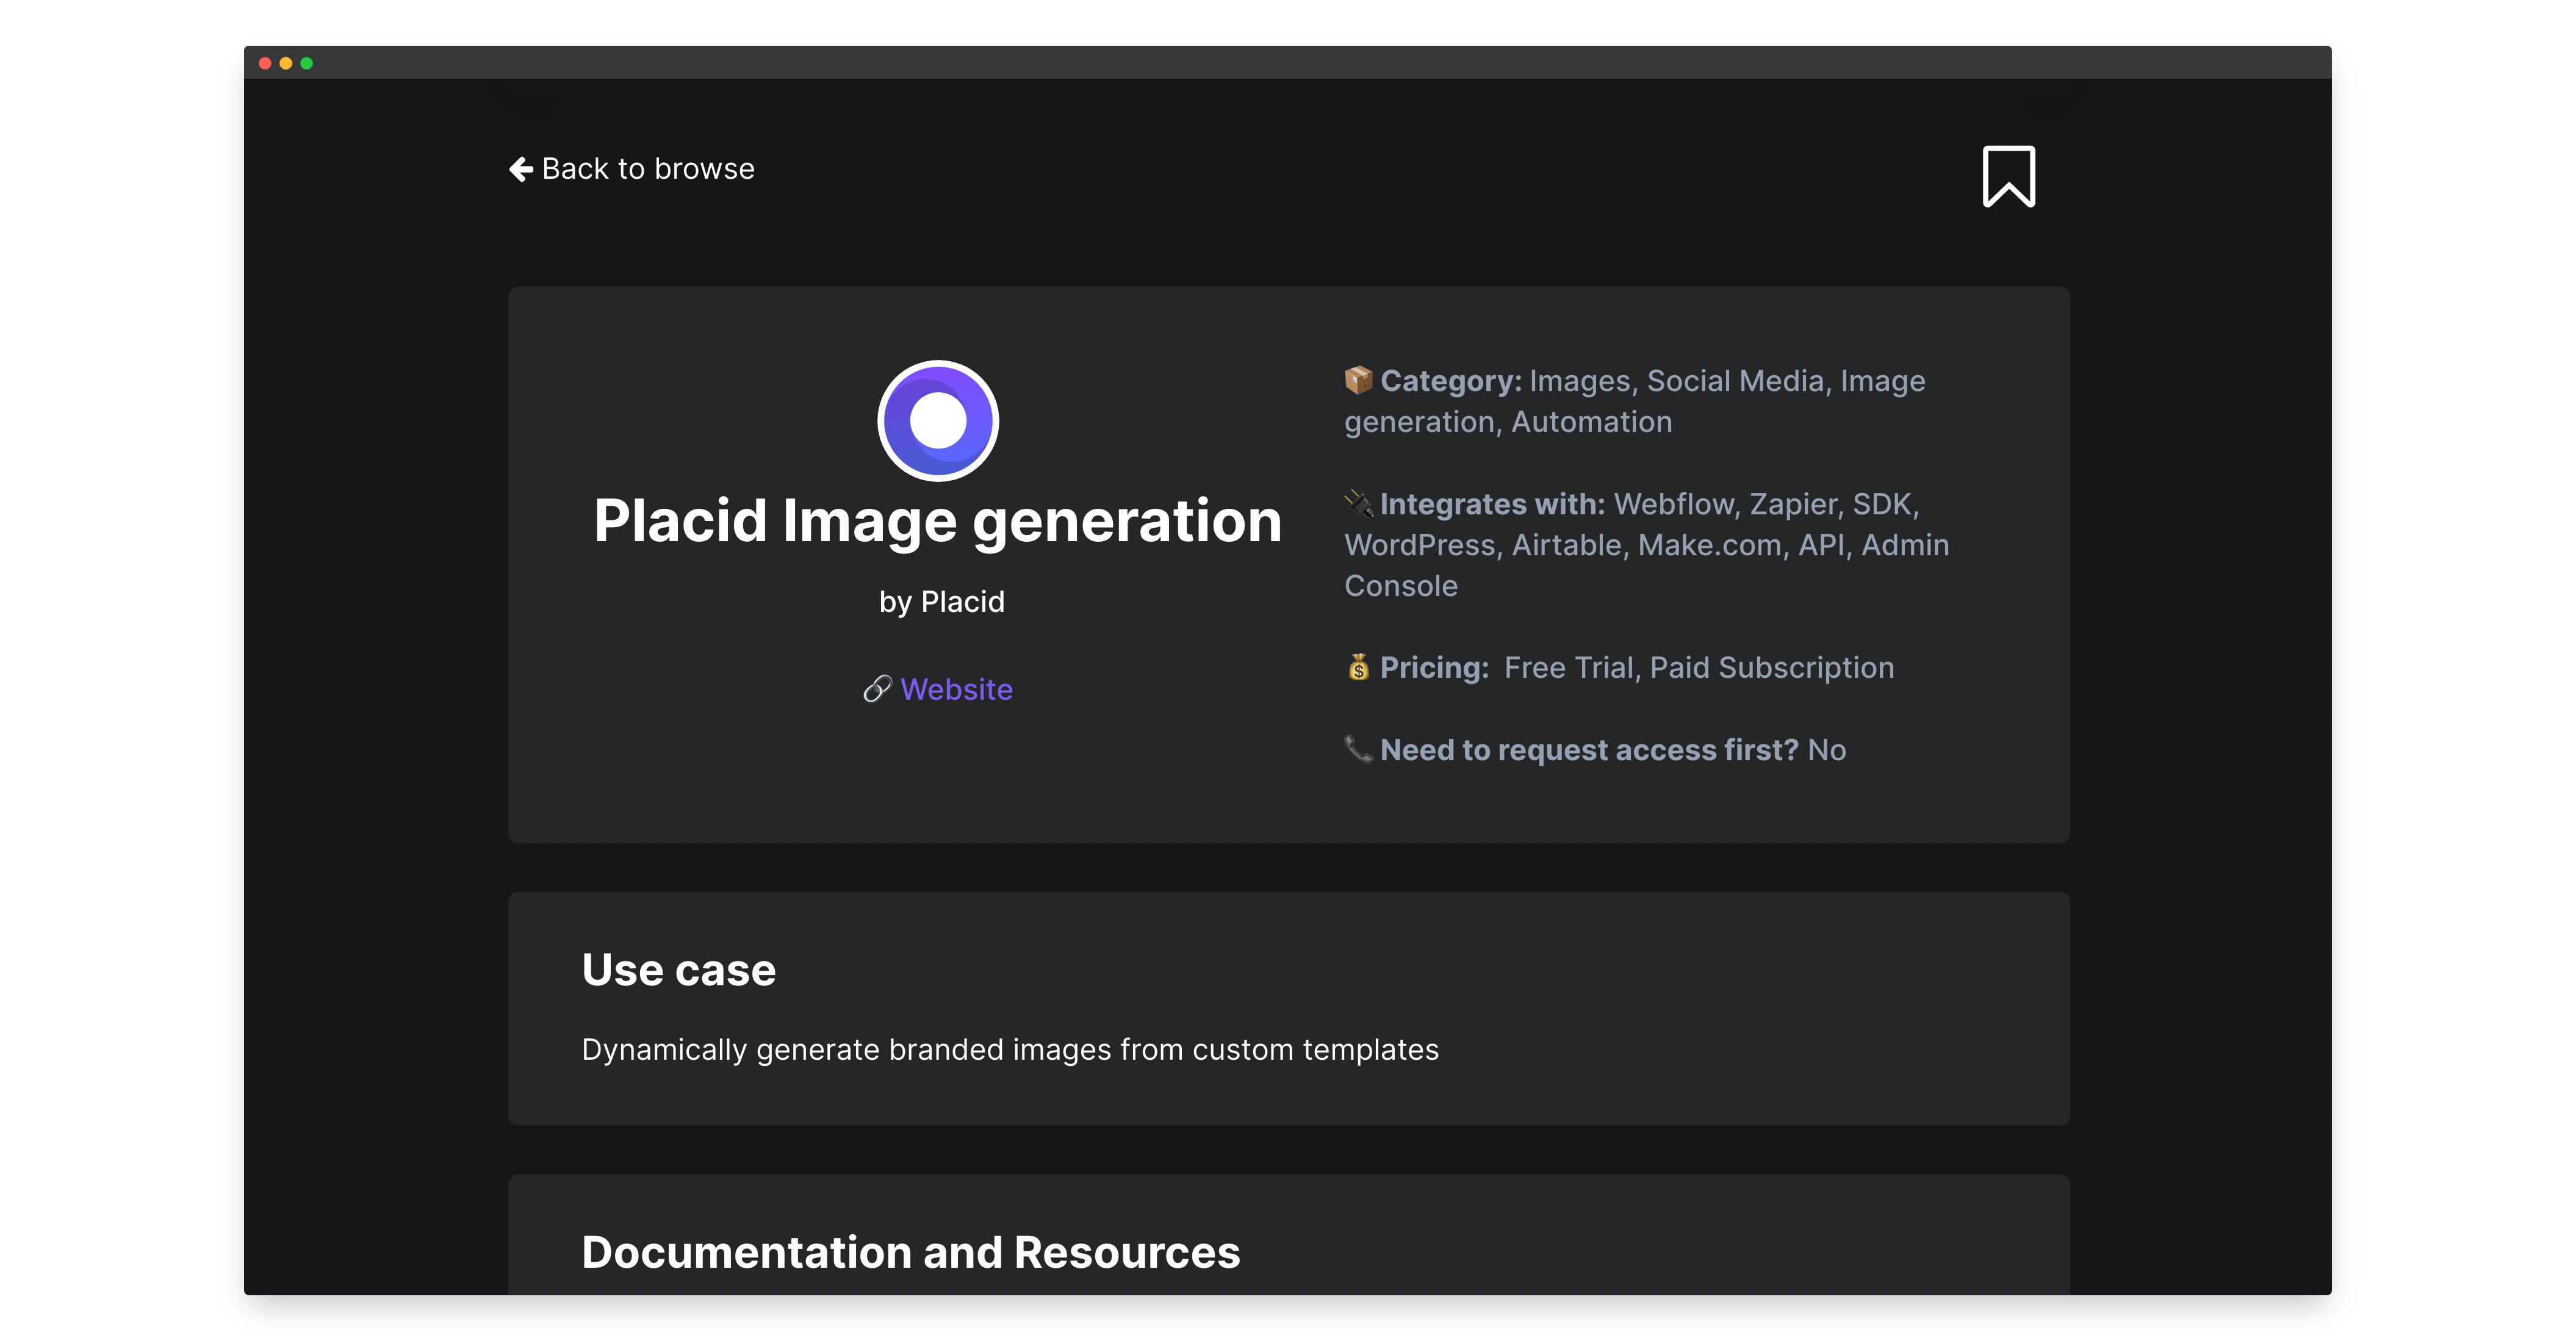
We also have as direct links to resources to help us integrate. Let’s check out the Airtable setup guide for Placid and have a look.

Let’s implement!
3. Setup Placid
Log in to Placid and create your first project, choose a template, select Airtable as the integration method, add your Airtable API key, and add the script to Airtable
4. Creating the first automation in Placid
Create the first automation in Placid, we’ll need to add the table id and then connect the fields to the dynamic fields in the template we created in the previous step
5. Finding an integration to post to social media
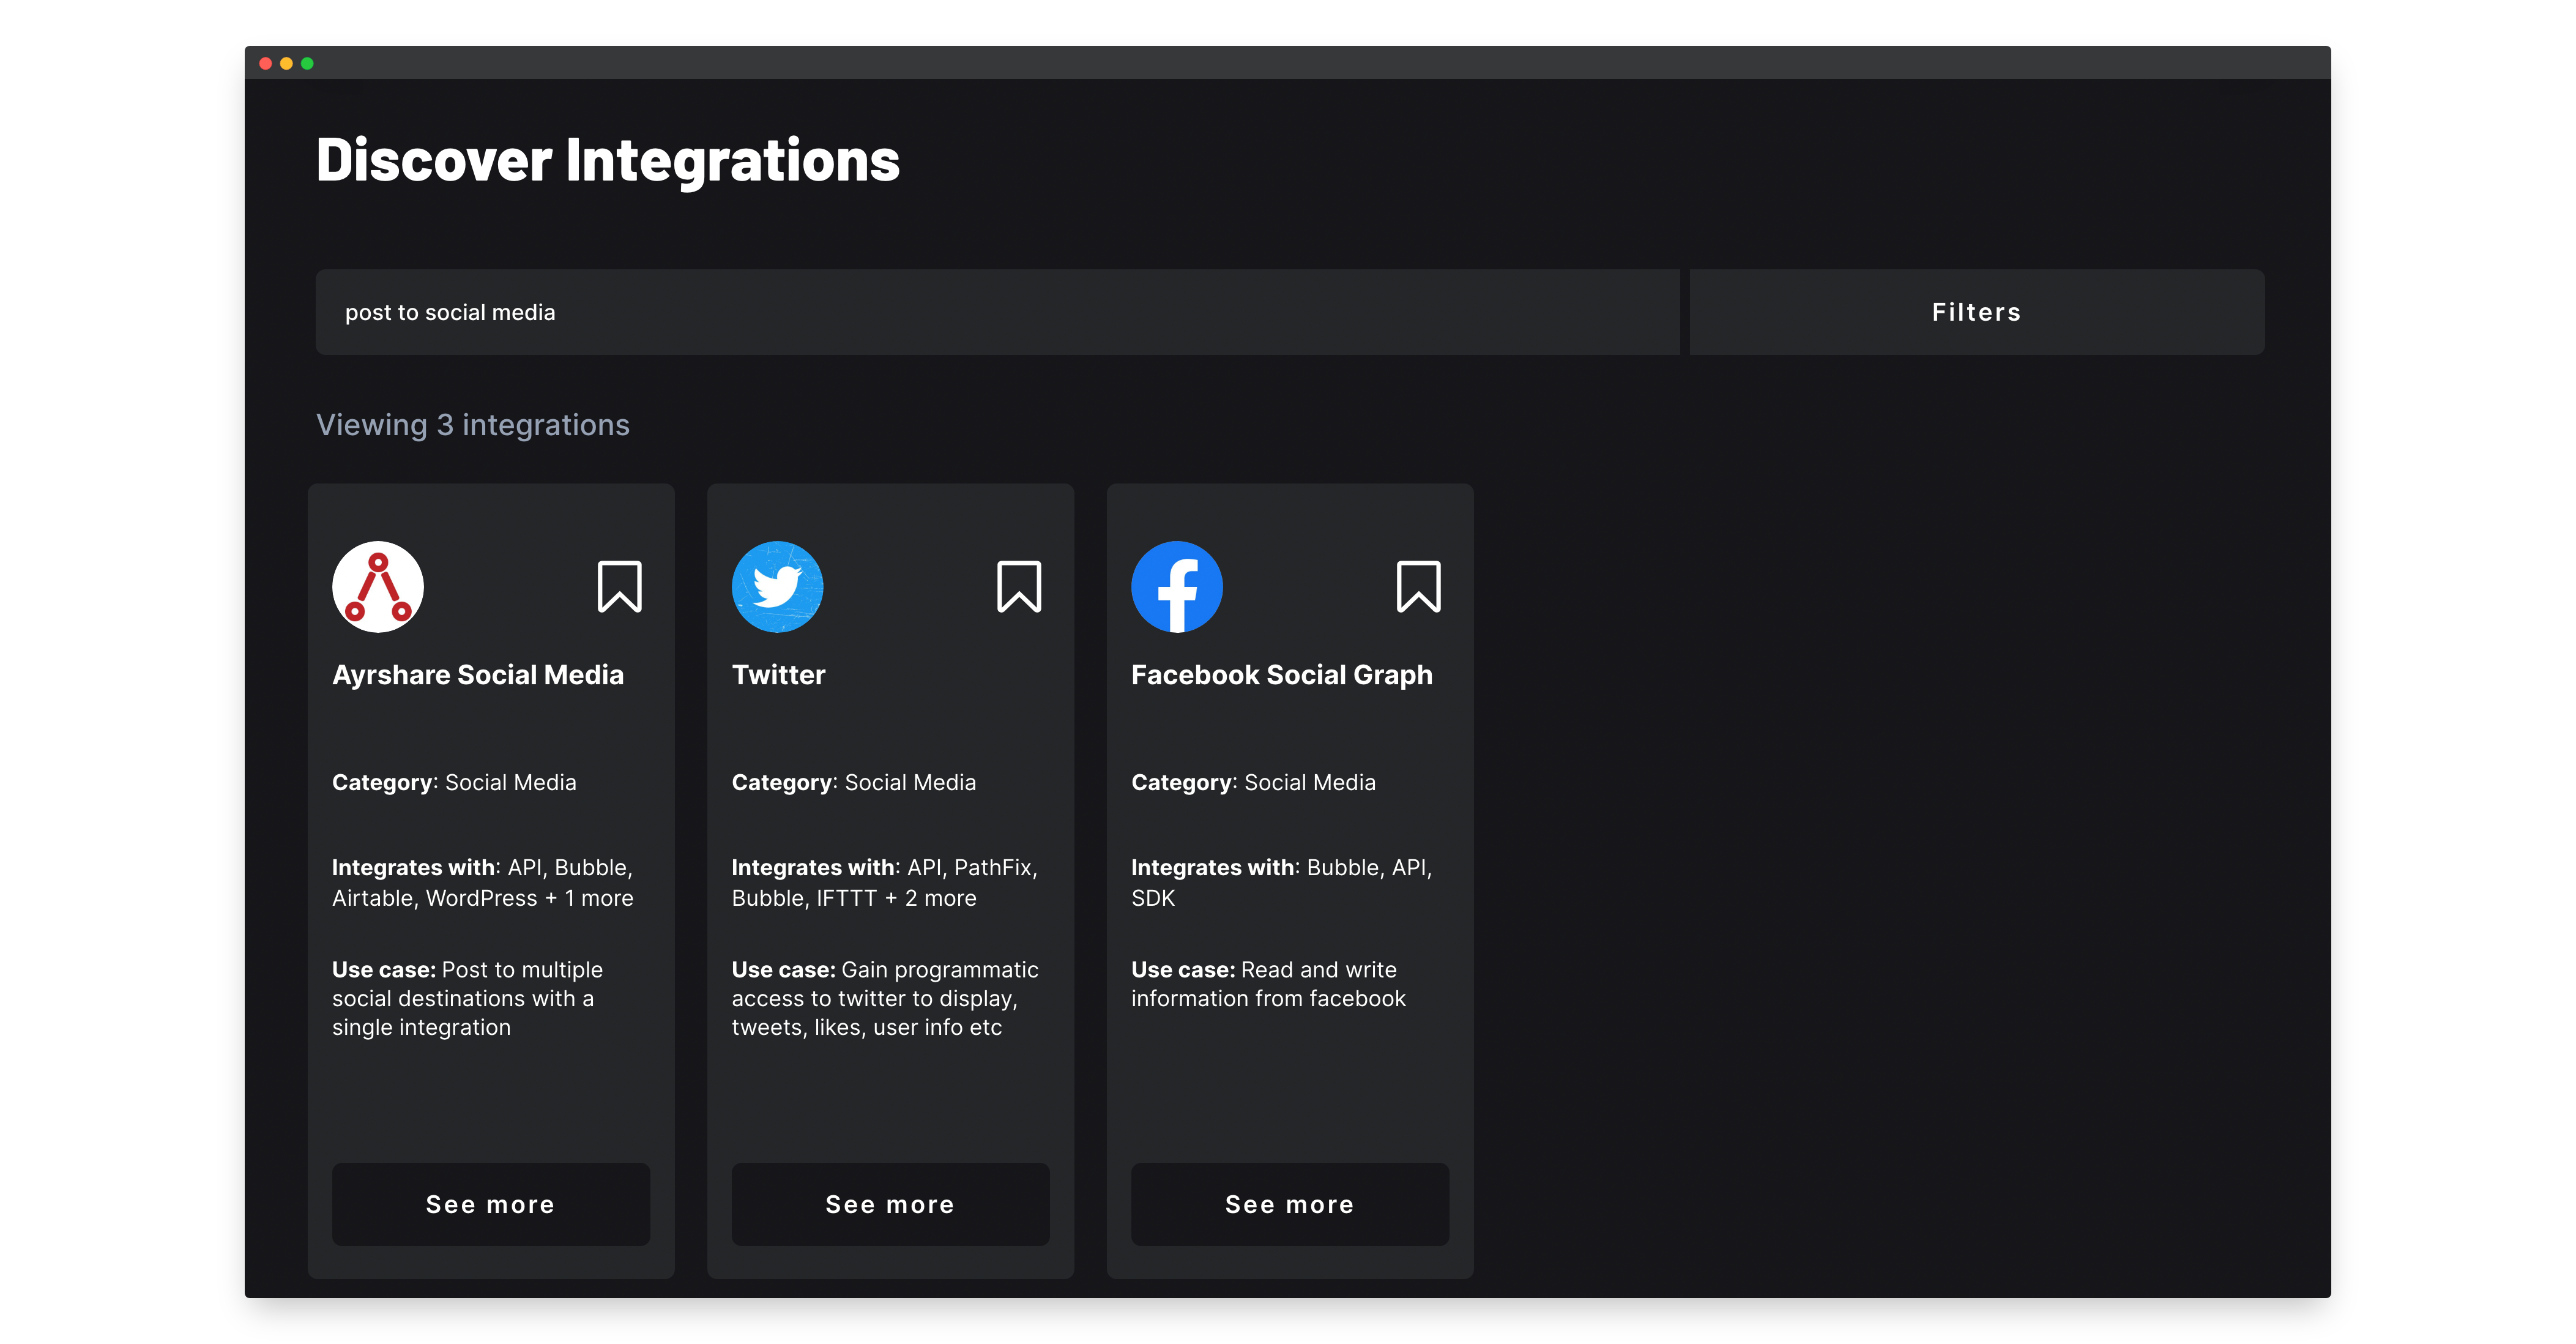
Back in our integrations directory, we can now find an integration for our 2nd goal, posting to social media. To do that search “post to social media” on Integrations directory.
Looks like the first one is a hit, we can start integrating that into our Airtable base.
6. Set up Ayrshare
Visit ayrshare.com. For this tutorial we just want to post to Linkedin and Twitter, but you can choose from a whole host of social media accounts. If you’d like to follow along, you can link your twitter and Linkedin accounts.
7. Start the post to social media script
We create the script and post the node.js example into the airtable scripting extension. We can remove the const fetch = require("node-fetch") line in the code and we’ll add await before fetch.
The code script should look like this
const API_KEY = "YOUR-AYRSHARE-API-KEY";

await fetch("https://app.ayrshare.com/api/post", {
      method: "POST",
      headers: {
        "Content-Type": "application/json",
        "Authorization": `Bearer ${API_KEY}`
      },
      body: JSON.stringify({
        post: "Today is a great day!", // required
        platforms: ["twitter", "facebook", "fbg", "instagram", "linkedin"], // required
        mediaUrls: ["https://images.ayrshare.com/imgs/GhostBusters.jpg"], //optional
      }),
    })
      .then((res) => res.json())
      .then((json) => console.log(json))
      .catch(console.error);
8. Add the record picker example to the script
We add some code so that when we run the script from a button we’ll access the correct link
At this stage the script should look like the below
const API_KEY = "YOUR-AYRSHARE-API-KEY";

// Change this name to use a different table
let table = base.getTable("Content");
// Prompt the user to pick a record
// If this script is run from a button field, this will use the button's record instead.
let record = await input.recordAsync('Select a record to use', table);


if (record) {
await fetch("https://app.ayrshare.com/api/post", {
      method: "POST",
      headers: {
        "Content-Type": "application/json",
        "Authorization": `Bearer ${API_KEY}`
      },
      body: JSON.stringify({
        post: "Today is a great day!", // required
        platforms: ["twitter", "facebook", "fbg", "instagram", "linkedin"], // required
        mediaUrls: ["https://images.ayrshare.com/imgs/GhostBusters.jpg"], //optional
      }),
    })
      .then((res) => res.json())
      .then((json) => console.log(json))
      .catch(console.error);
      } else {
    output.text('No record was selected');
}
9. Update the script to reference the correct record data
Script at this stage
const API_KEY = "YOUR-AYRSHARE-API-KEY";

// Change this name to use a different table
let table = base.getTable("Content");
// Prompt the user to pick a record
// If this script is run from a button field, this will use the button's record instead.
let record = await input.recordAsync('Select a record to use', table);


if (record) {
await fetch("https://app.ayrshare.com/api/post", {
      method: "POST",
      headers: {
        "Content-Type": "application/json",
        "Authorization": `Bearer ${API_KEY}`
      },
      body: JSON.stringify({
        post: record.getCellValue("Post Content") + " " + record.getCellValue("Link"), // required
        platforms: ["twitter", "linkedin"], // required
        mediaUrls: [record.getCellValue("image url")], //optional
      }),
    })
      .then((res) => res.json())
      .then((json) => console.log(json))
      .catch(console.error);
      } else {
    output.text('No record was selected');
}
10. Mark a record as posted once it successfully runs
Full script
const API_KEY = "YOUR-AYRSHARE-API-KEY";

// Change this name to use a different table
let table = base.getTable("Content");
// Prompt the user to pick a record
// If this script is run from a button field, this will use the button's record instead.
let record = await input.recordAsync('Select a record to use', table);


if (record) {
await fetch("https://app.ayrshare.com/api/post", {
      method: "POST",
      headers: {
        "Content-Type": "application/json",
        "Authorization": `Bearer ${API_KEY}`
      },
      body: JSON.stringify({
        post: record.getCellValue("Post Content") + " " + record.getCellValue("Link"), // required
        platforms: ["twitter", "linkedin"], // required
        mediaUrls: [record.getCellValue("image url")], //optional
      }),
    })
      .then((res) => res.json())
      .then((json) => {
          const id = record?.id

          function updatePost (id){
              table.updateRecordAsync(id, {
                  Posted: true,
              })
          }

          if (json.status === "success"){
              updatePost(id);
          }

          console.log(json)})
      .catch(console.error);
      } else {
    output.text('No record was selected');
}
11. Create the add a script button and trying it out 🎉
More resources and guide for Integrating Placid, Ayshare and Airtable
If you’d like to run the Ayshare script from an action instead (will still require a pro Airtable account) Follow this guide.
There’s also a stream with ATTT on using a slightly different version of this script that lets you use a drop down select to choose the platform you’d like it to post to

And that’s a wrap! This post walked through extending your Airtable base to add automated images and post them to social media. If you want to find more ways to extend your applications, be sure to subscribe to the integrations directory newsletter where we share new integrations each week.
.png?table=block&id=9ba33ac6-8e12-48f6-b980-4333b612ec56&cache=v2)
