
Do not index
Zapier is a powerful tool for connecting your SaaS with numerous other platforms. If your service isn't already among the 6000+ integrated with Zapier, creating a Zapier app is your starting point. Zapier offers
For insights on choosing between Zapier Platform CLI and Zapier Platform UI, refer to this comparative article.

1. Ensure Node Compatibility
Confirm you're using the correct Node.js version, which is currently v18 for Zapier's CLI. Switch or install Node.js v18 as needed:
To switch versions:
nvm use v18
To install: if you don’t have v18
nvm install v18
Windows users should use nvm-windows.
2. Install Zapier CLI
Install the CLI tool globally:
npm install -g zapier-platform-cli
3. Log in to Zapier
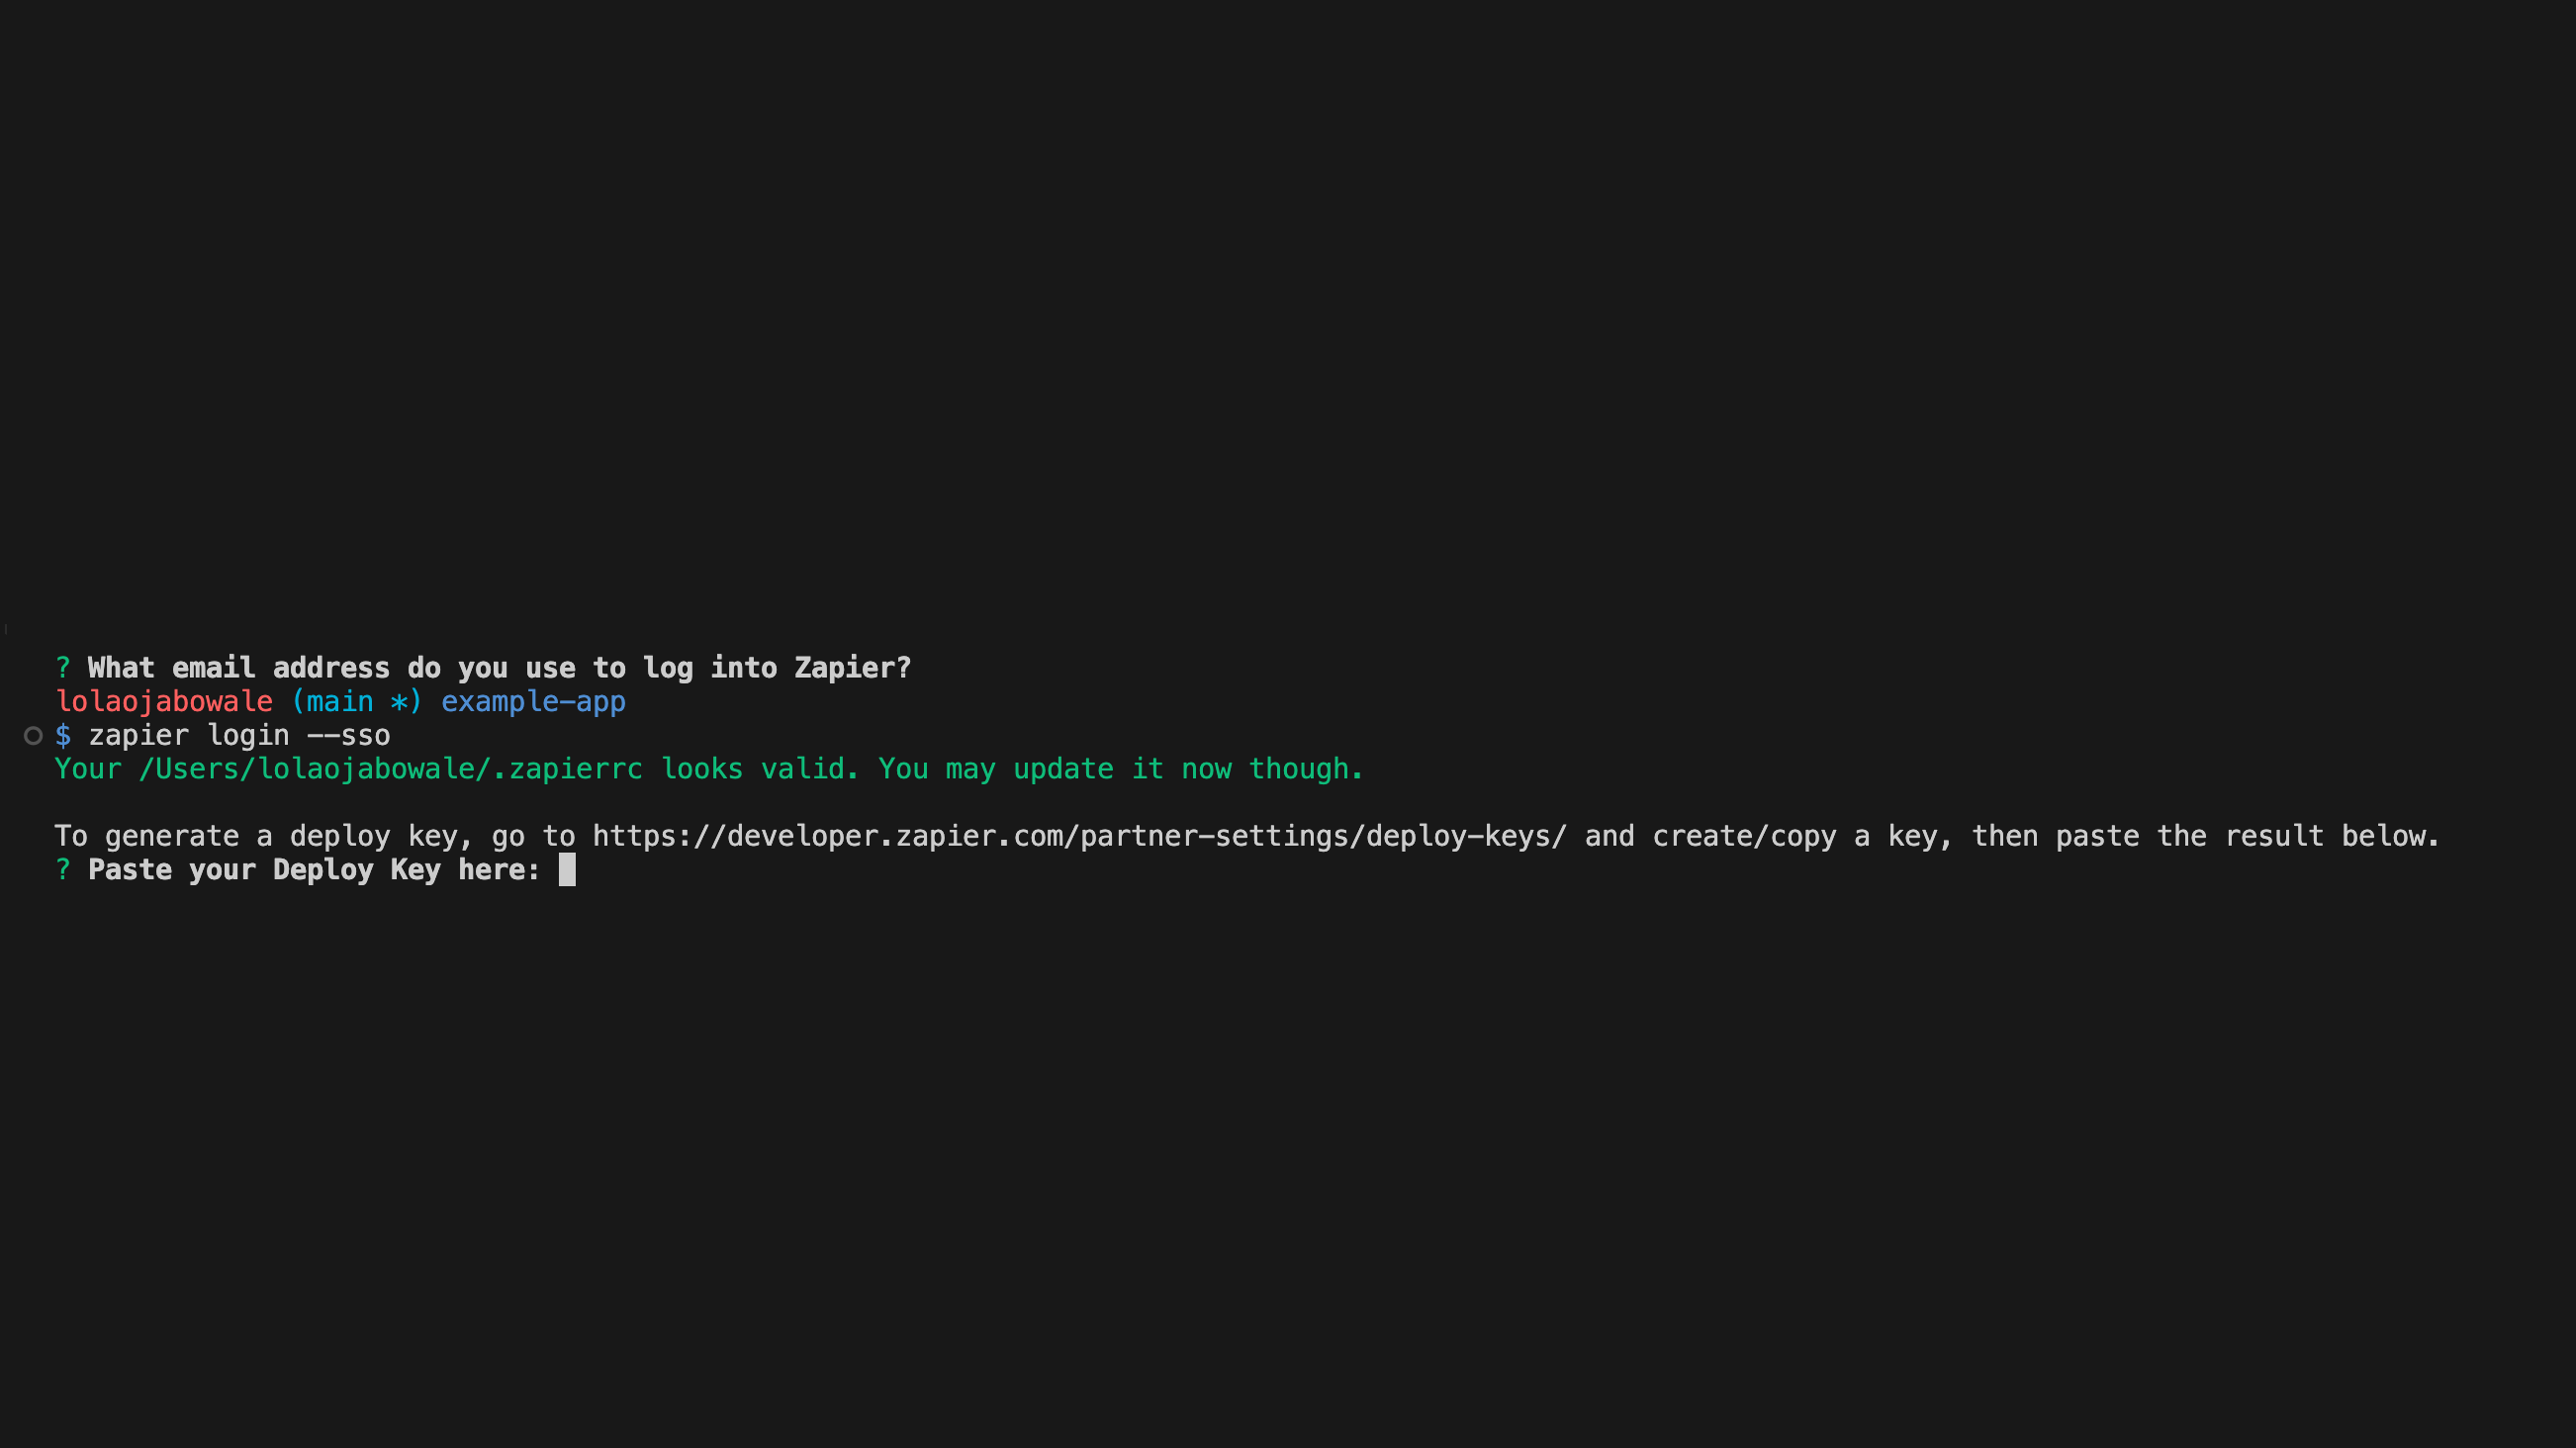
Log in using the command line. For social logins, like Google, use:
zapier login --sso
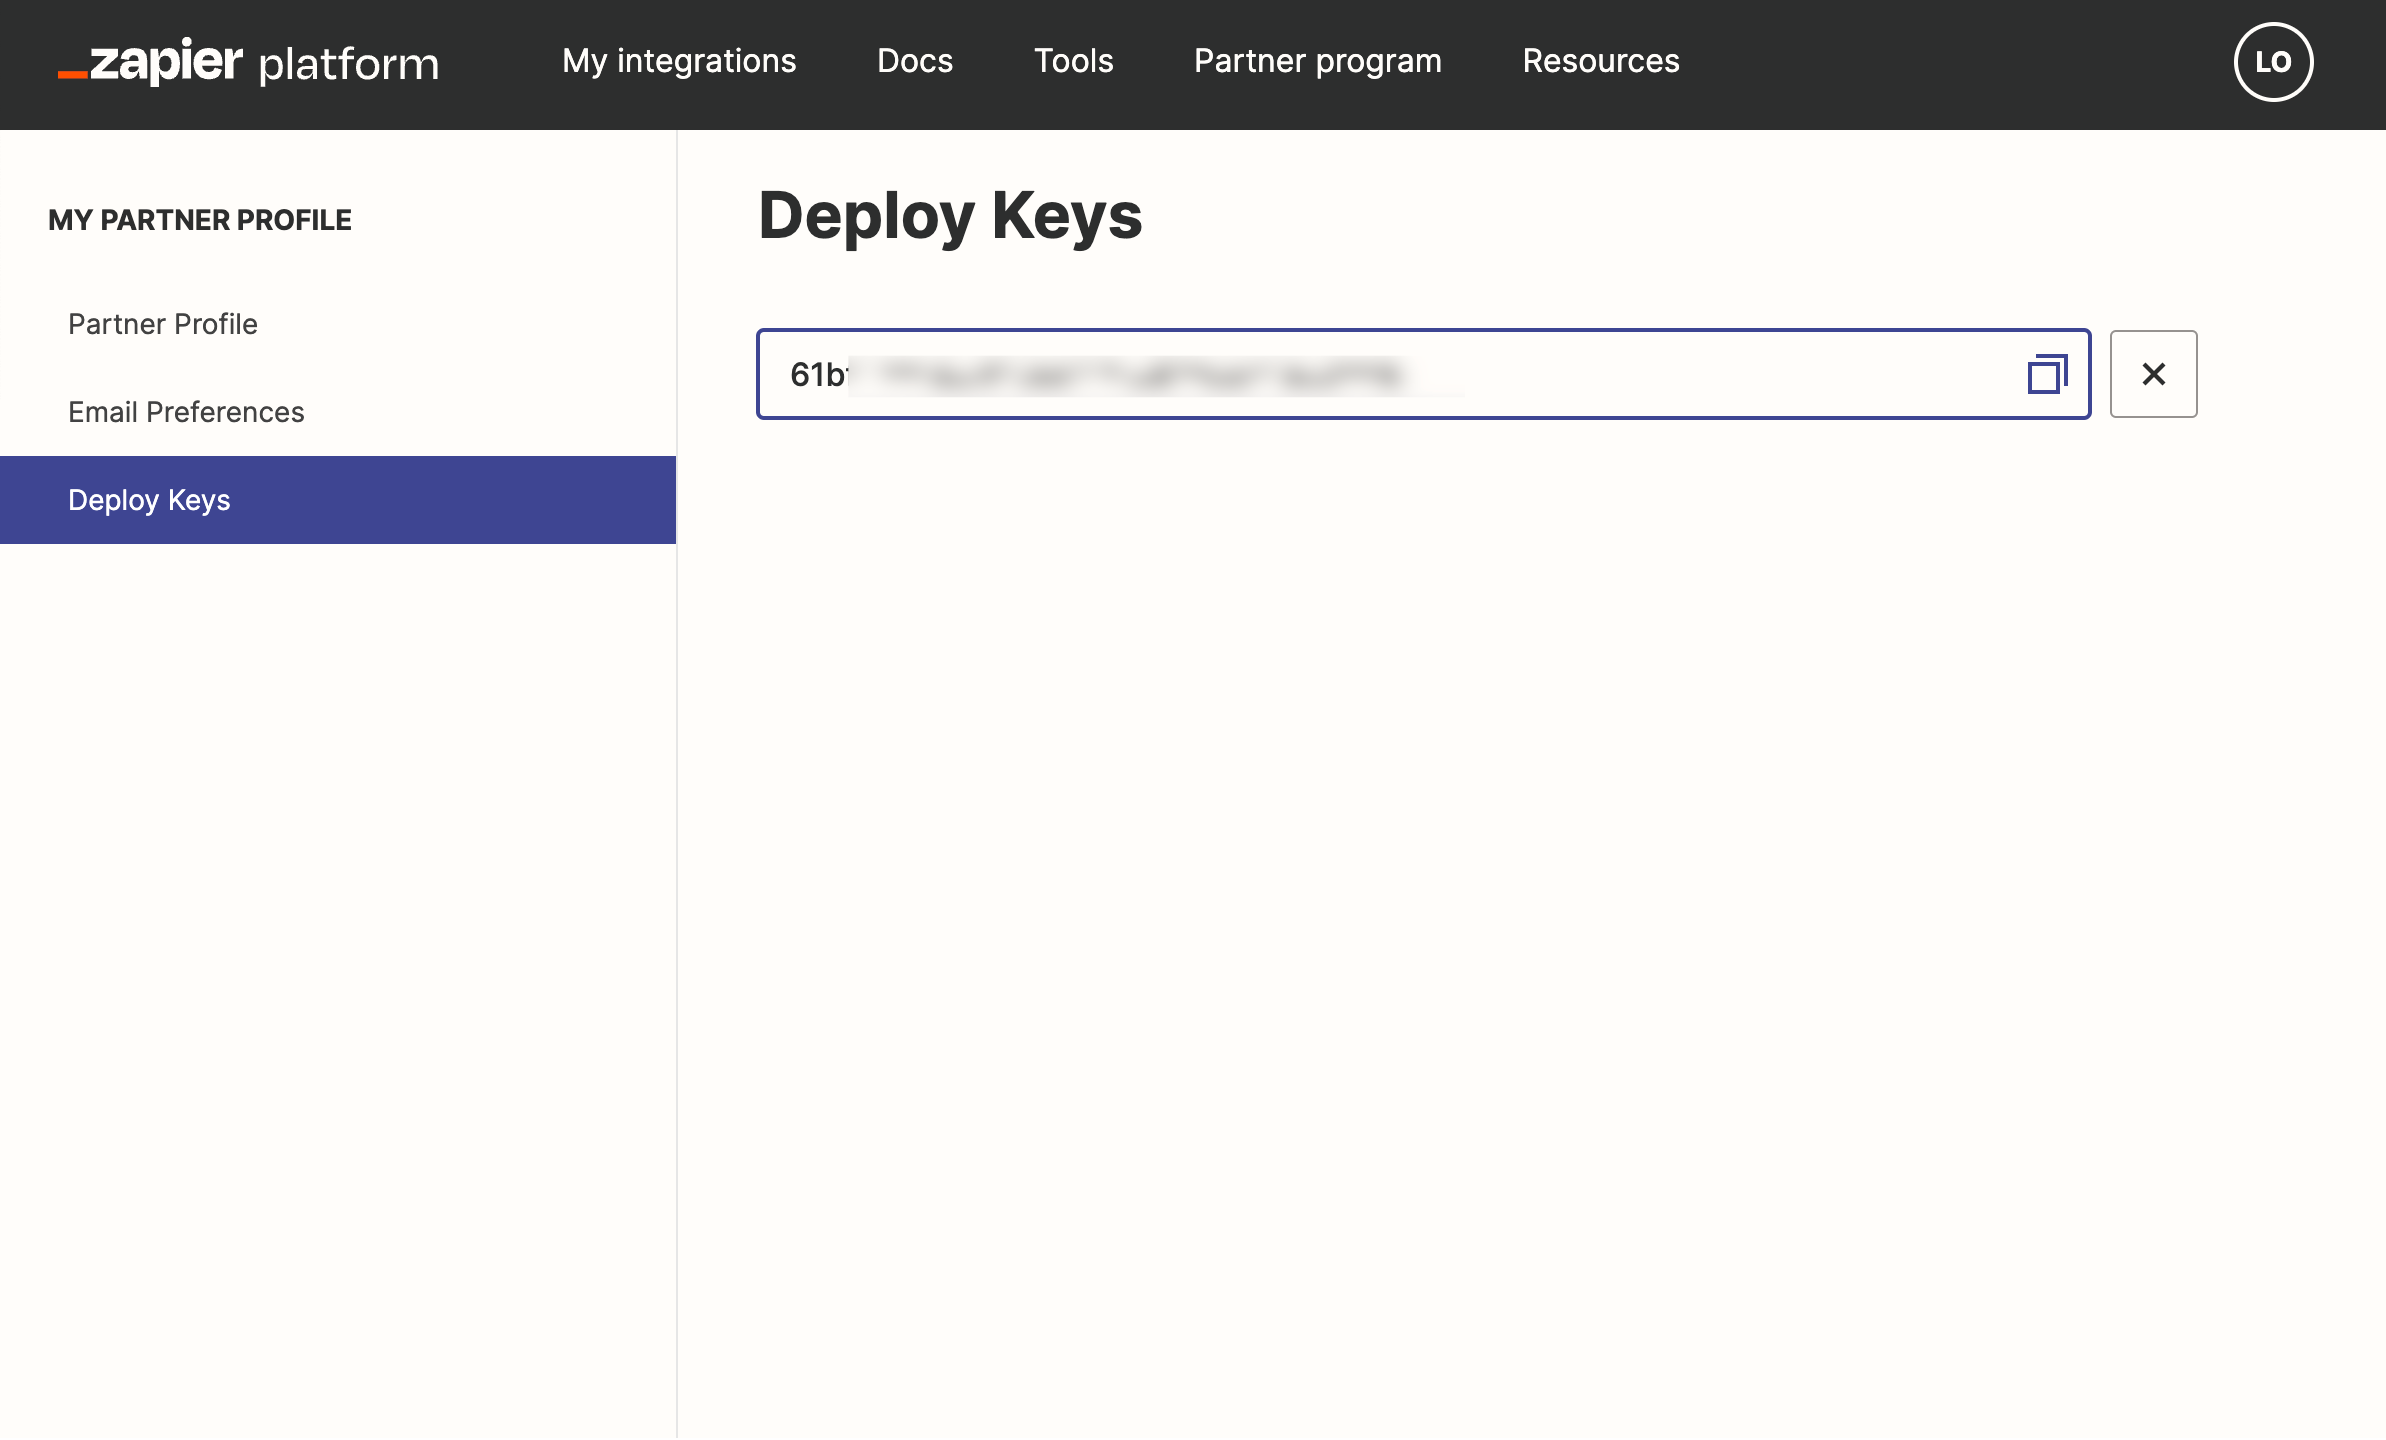
Next, generate a deploy key and input it.
4. Initialize Your App
Start a new Zapier app project with:
zapier init new-app
Choose a template to bootstrap your integration from the available options.

Navigate to your new app's directory:
cd new-app
And that’s a wrap! This completes the environment setup and app initialization and gives an overview of the process Zapier's own setup guide is also a very useful resource.
Need Zapier app support? Lunch Pail Labs is here to guide you through the process. Connect with Lunch Pail Labs to explore how a Zapier app can benefit your business.
.png?table=block&id=9ba33ac6-8e12-48f6-b980-4333b612ec56&cache=v2)