
Do not index
If you’re developing a Bubble app, integrating text message functionality is a robust feature for a variety of uses, from marketing to crucial transactional updates. And considering text messages boast an impressive 98% open rate compared to email's 20%, they're incredibly effective. Twilio, a top provider, helps ensure your messages comply with regulations and avoid spam filters—a must for maintaining high visibility. While Bubble’s marketplace has Twilio plugins, their recent API updates mean crafting your custom solution could be a smart move for long-term adaptability.
So, let's get started on building your very own Twilio SMS plugin for Bubble. If you prefer a video tutorial, check it out here:

What we’ll build
In this tutorial, we're setting up a custom Twilio plugin for Bubble. This plugin will equip you to:
- Enter your Twilio Auth Token and Account SID for secure API communication.
- Optionally specify a Message Service SID
- Craft the format for your SMS, determining the 'from' and 'to' numbers, as well as the message body itself.
Prerequisites
To follow this tutorial you’ll need
- An active Twilio account
- A Twilio phone number - with your personal phone number verified if you’re on a trial, which is a requirement by Twilio to send messages.
- An optional messaging service if you’d like to associate the message with a campaign
- A Bubble account and a Bubble app ready for plugin testing
Basic familiarity with JavaScript and Bubble's plugin editor is useful for modifications. If you're just here for the step-by-step guide, tune in!
Building the plugin: step by step
Setting up the plugin
First, log into Bubble and go to the
Plugins tab. Click on Create a plugin and name your plugin something relevant.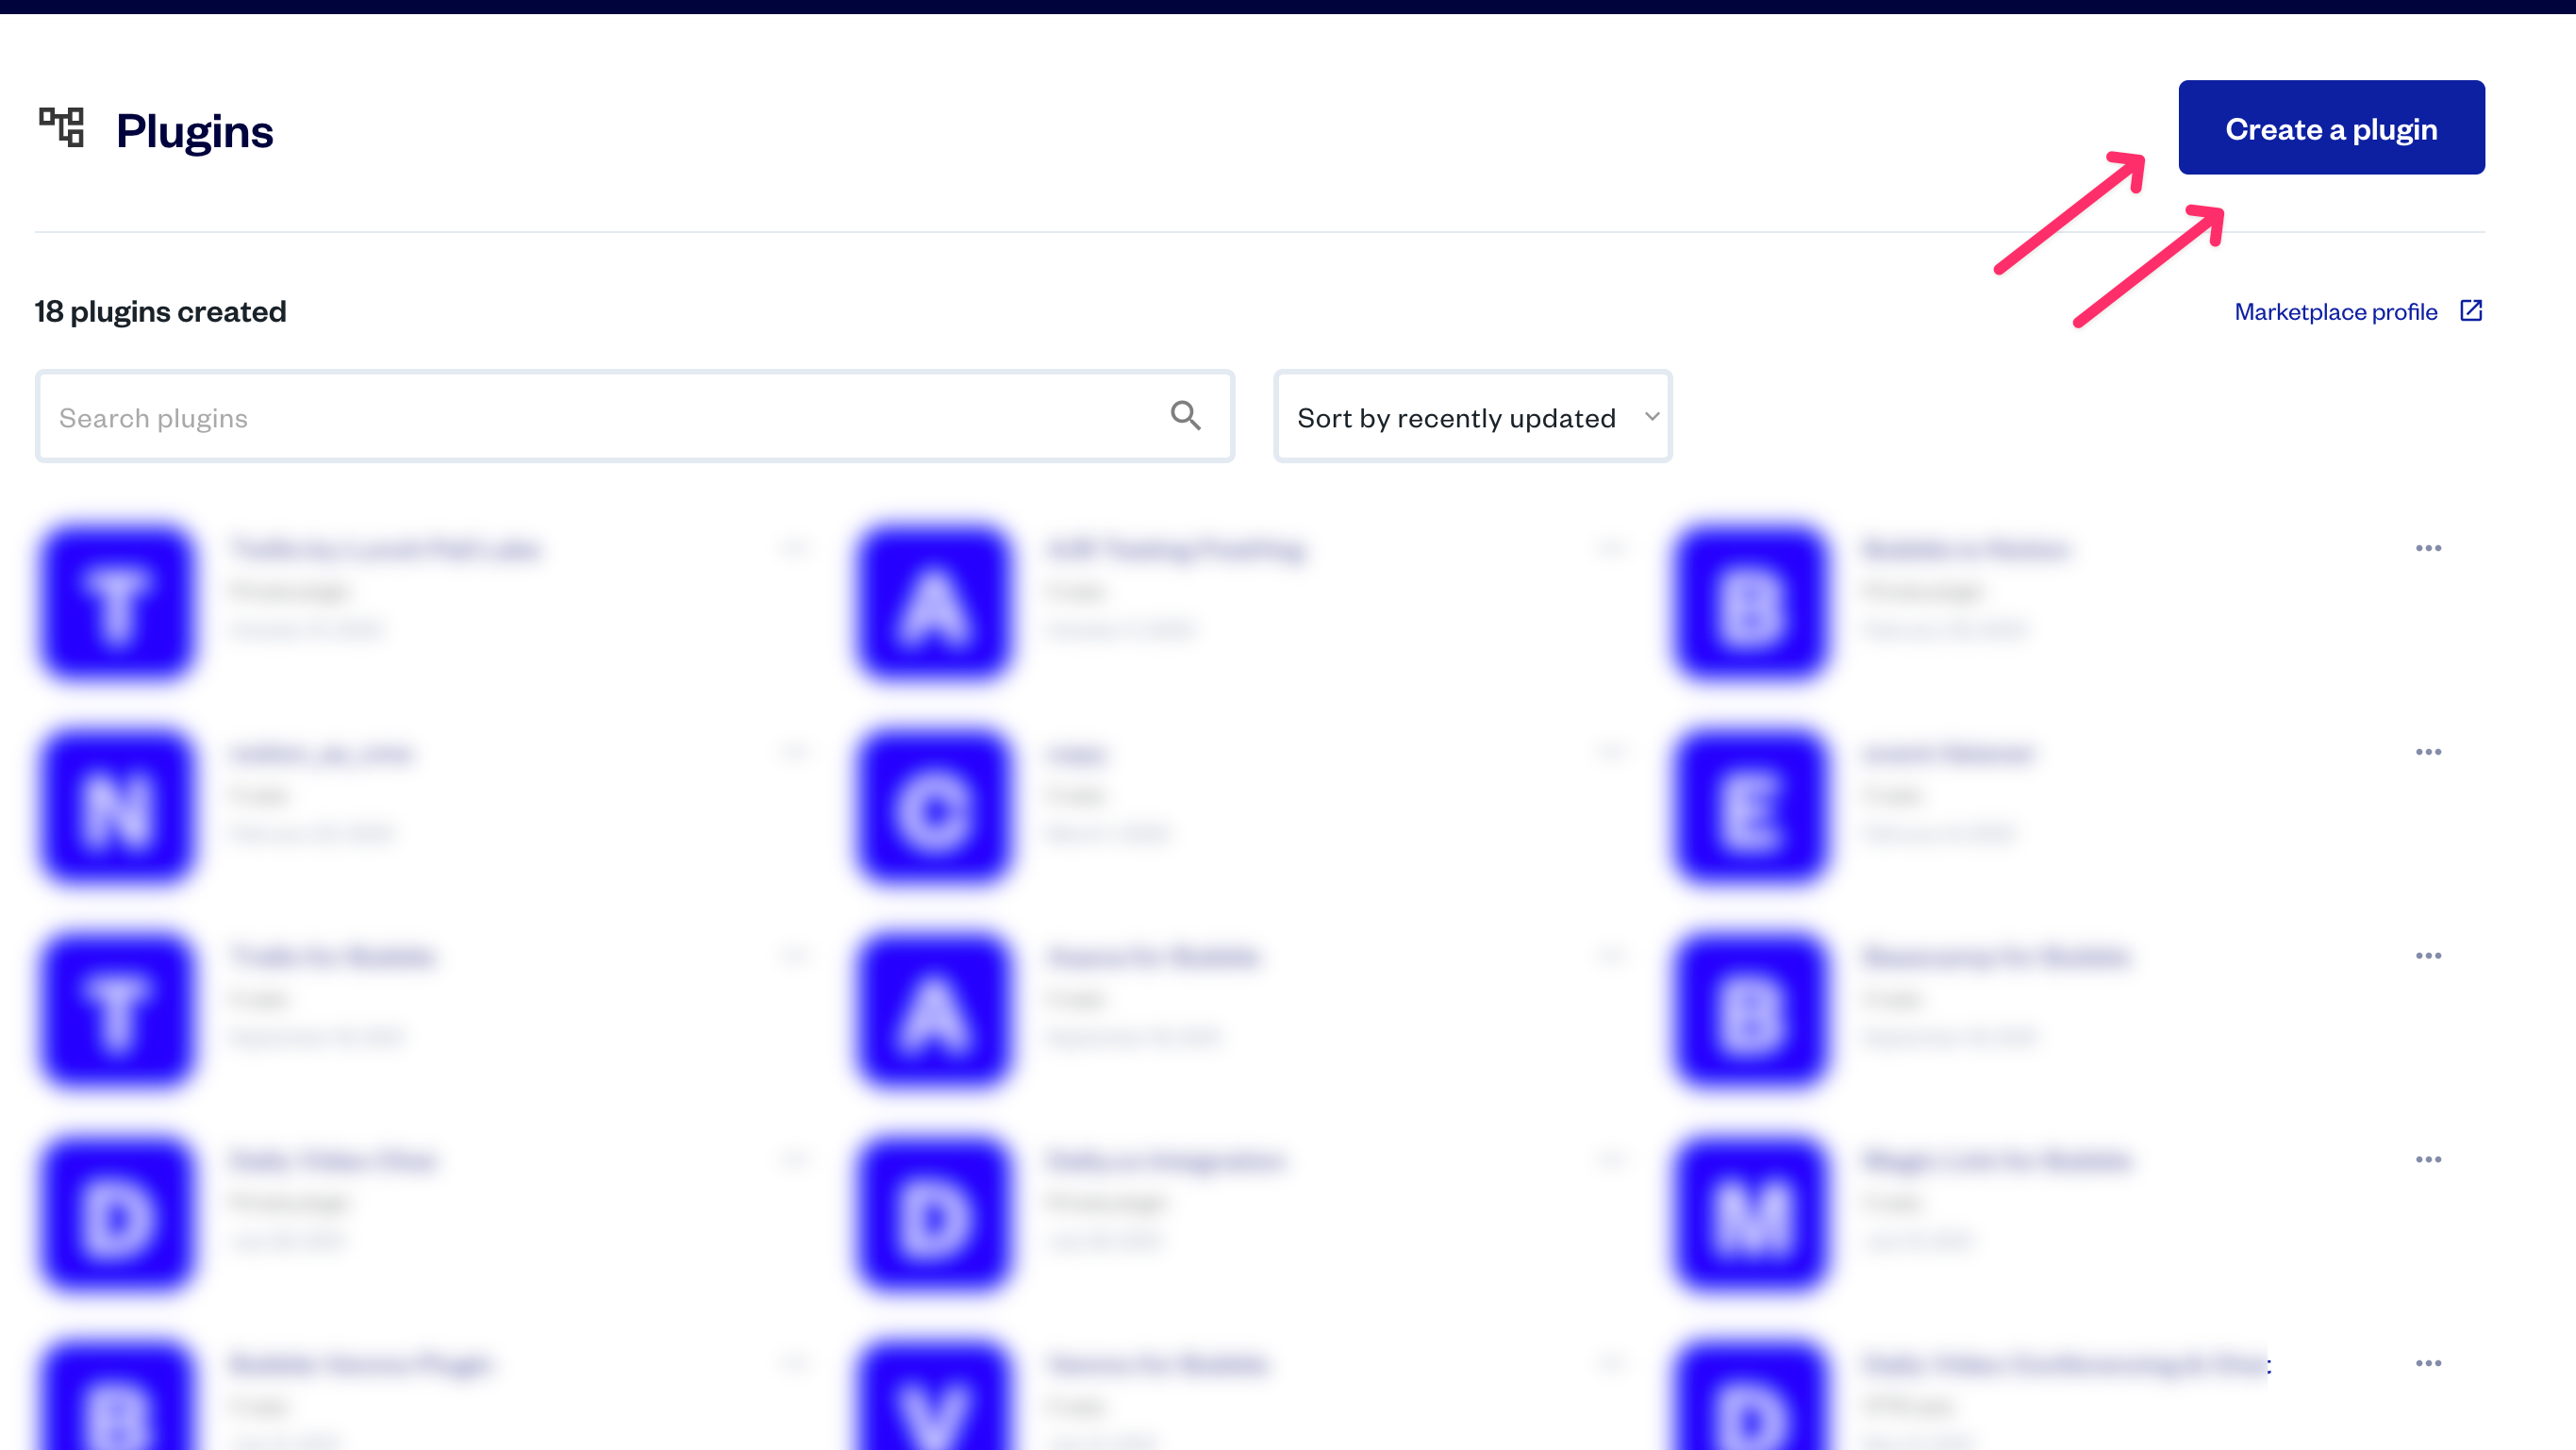
You'll arrive at the
General Settings tab. Here, input your plugin's details: name, URL, and icons. 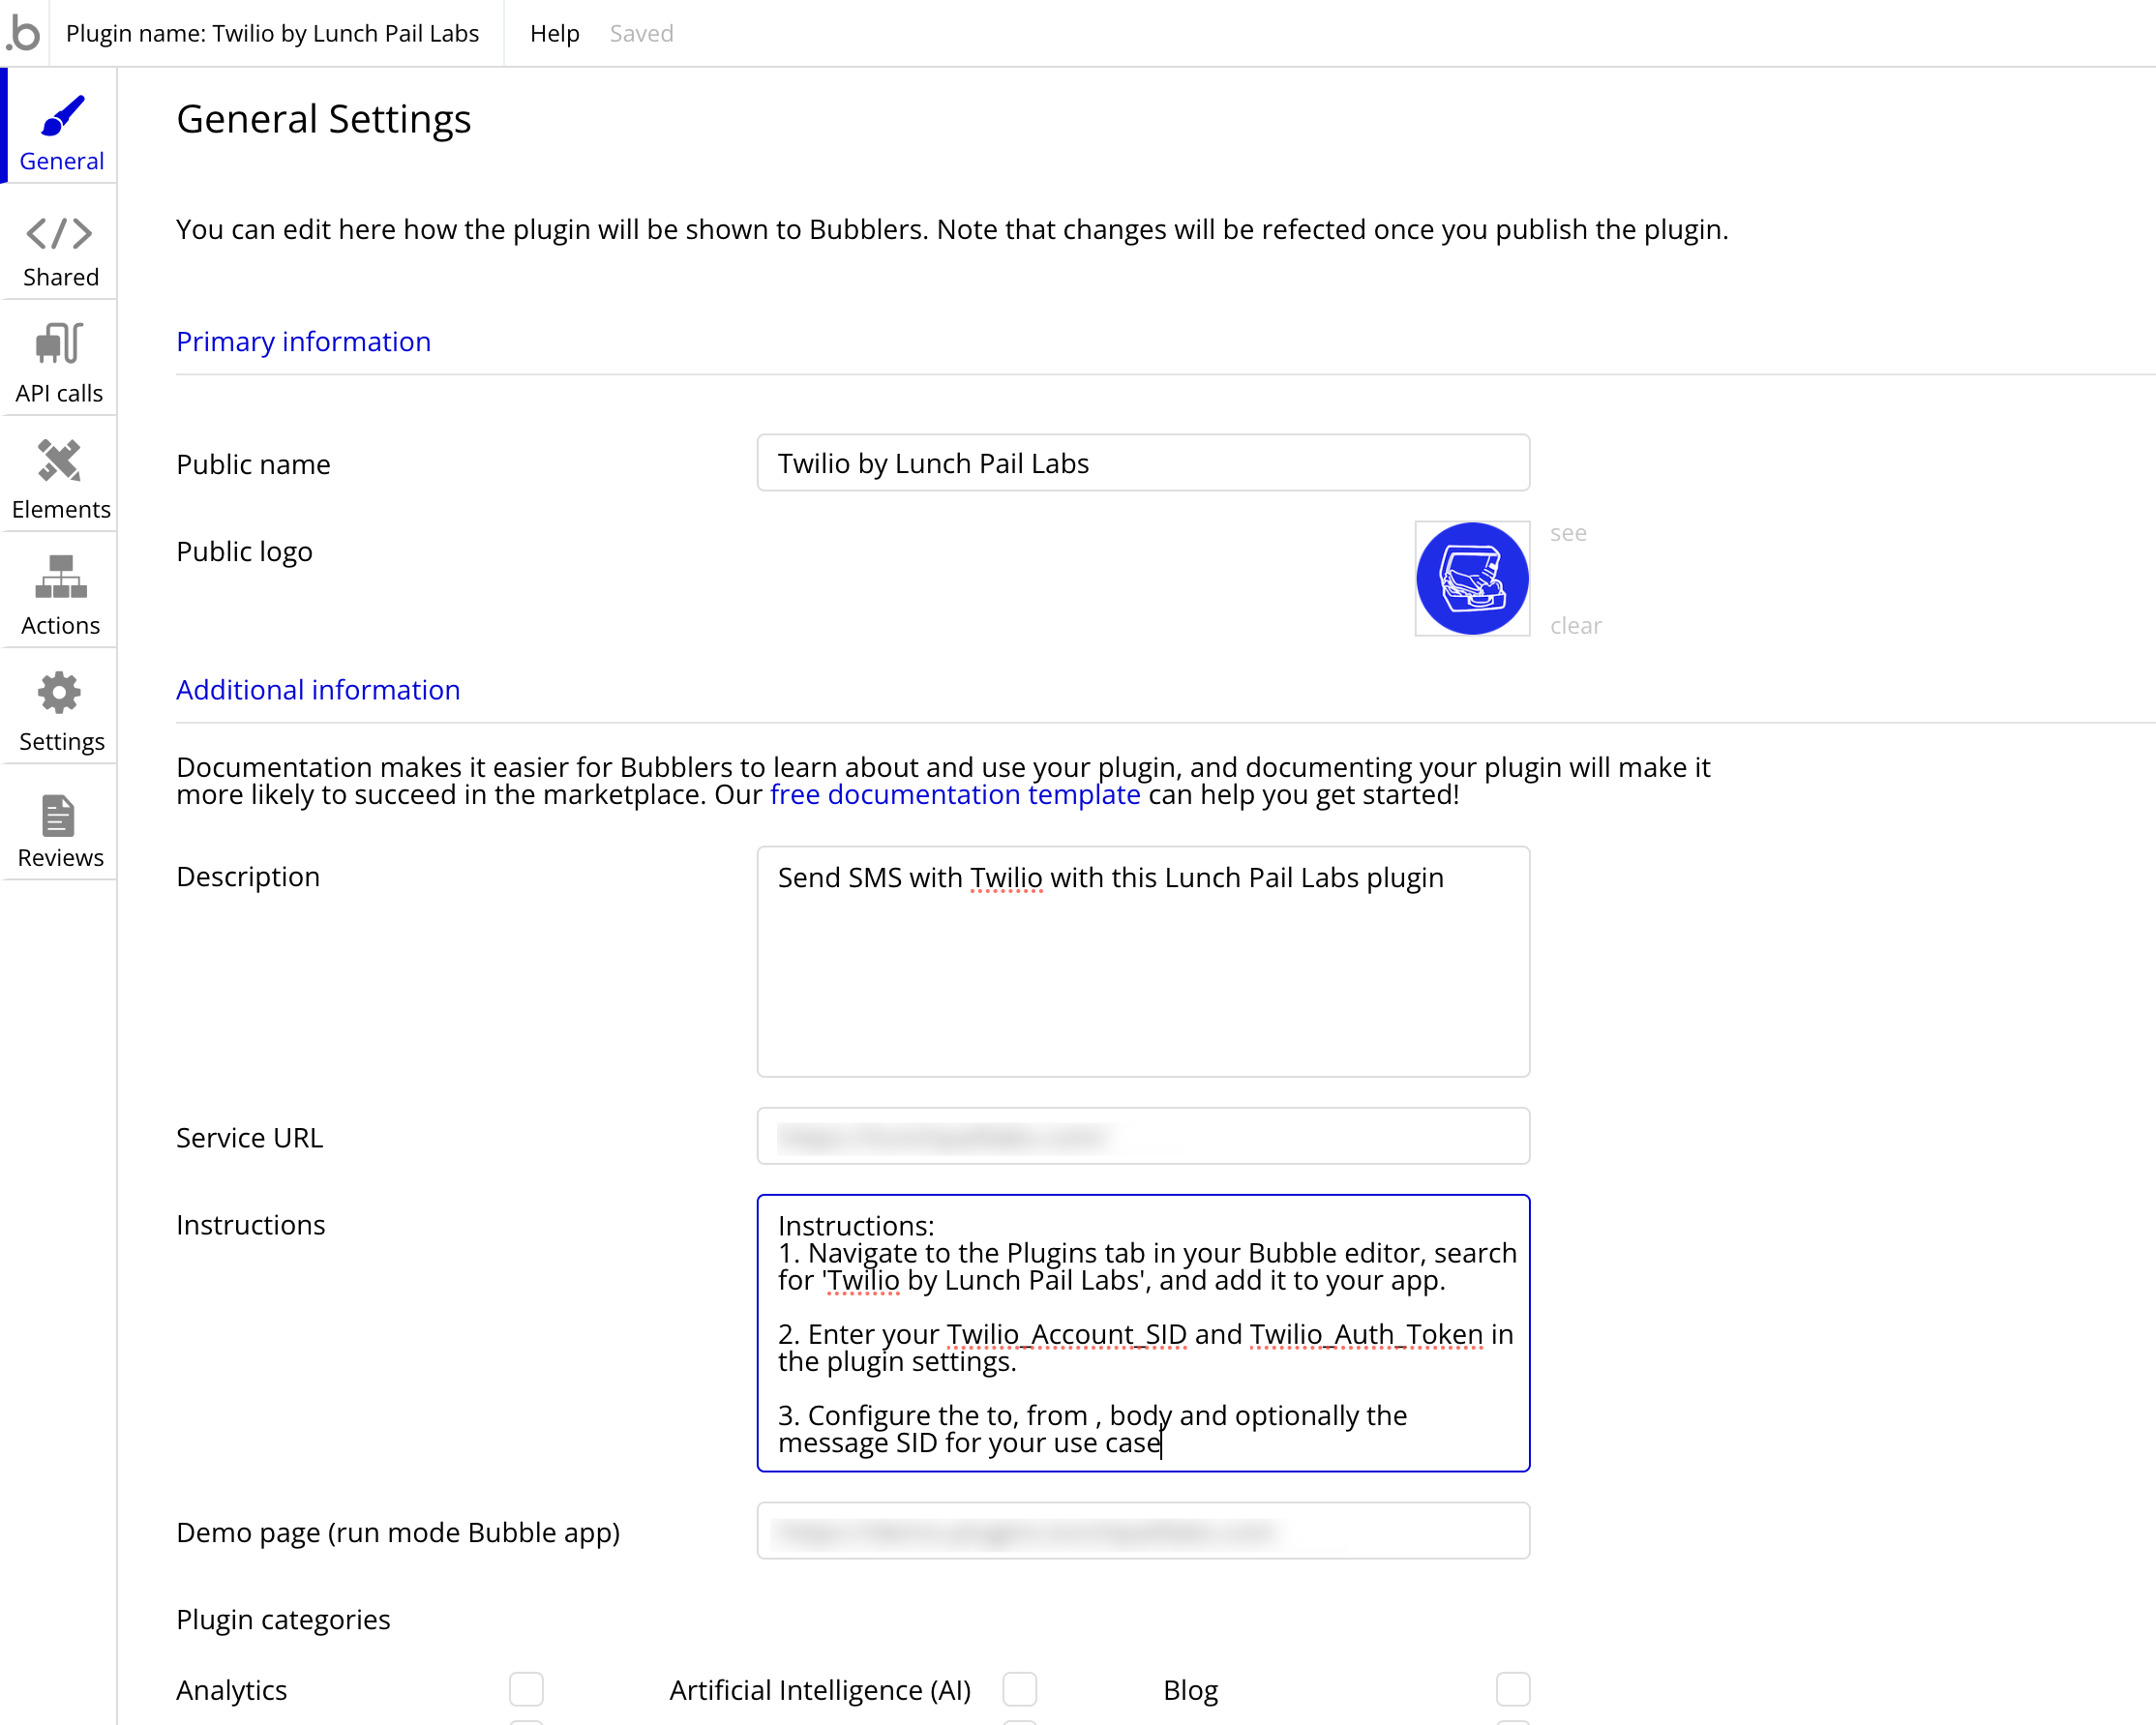
Select categories that best describe your plugin's purpose. For an SMS plugin,
Mobile and Productivity are appropriate choices. If we were to publish our plugin, it would appear under these categories, making it easier for users to find when they need SMS functionality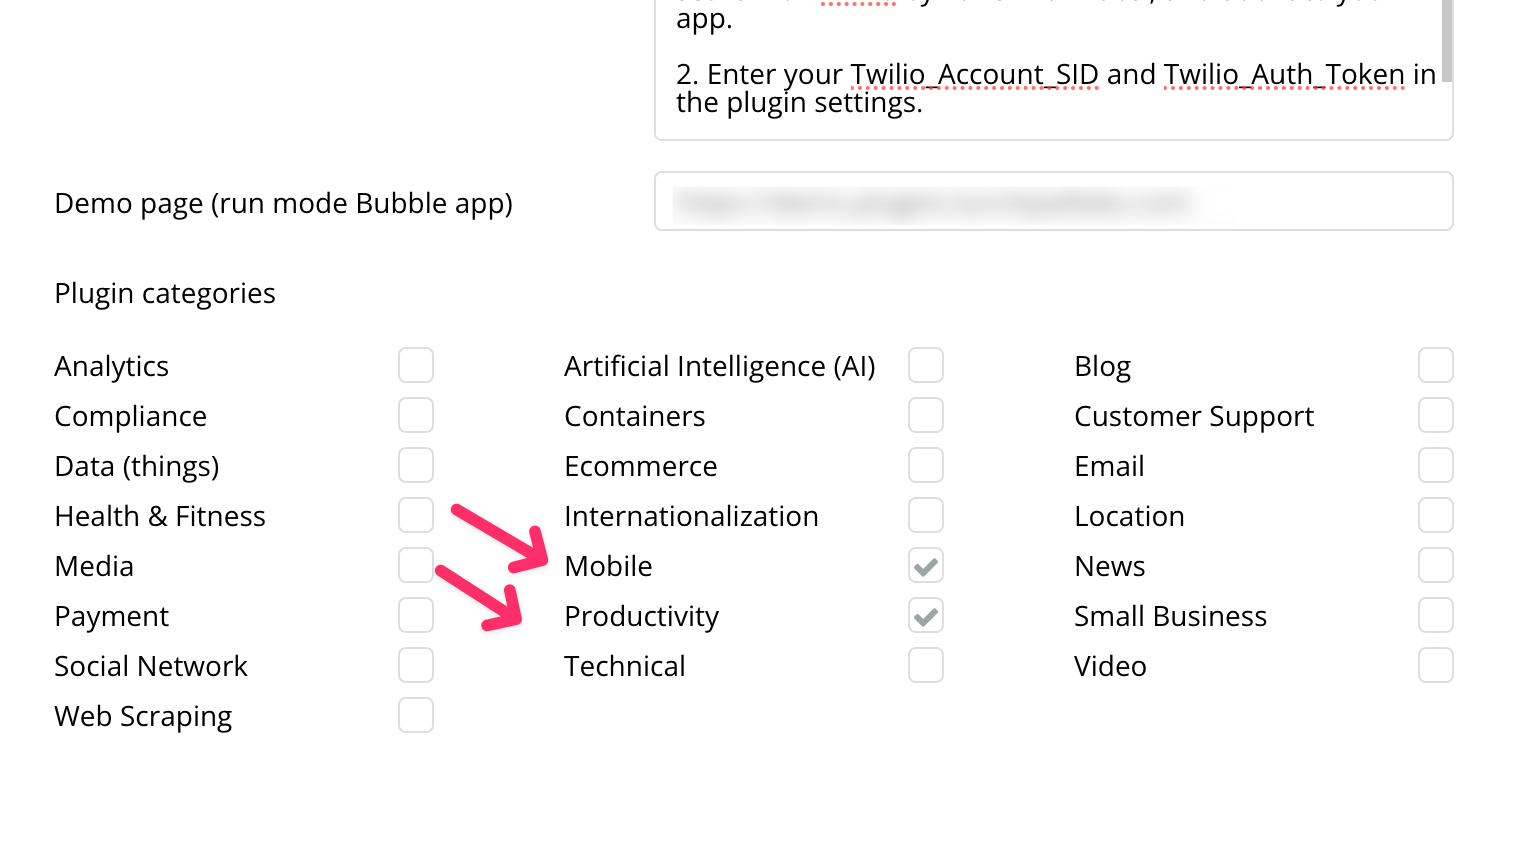
Next, move to
Shared Technical Settings. We'll add two essential private keys: Twilio_Auth_Token and Twilio_Account_SID. These keys keep your Twilio credentials secure and will be fields that users can fill out when installing your plugin. It's a way to ensure that each user's Twilio account is kept private and secure.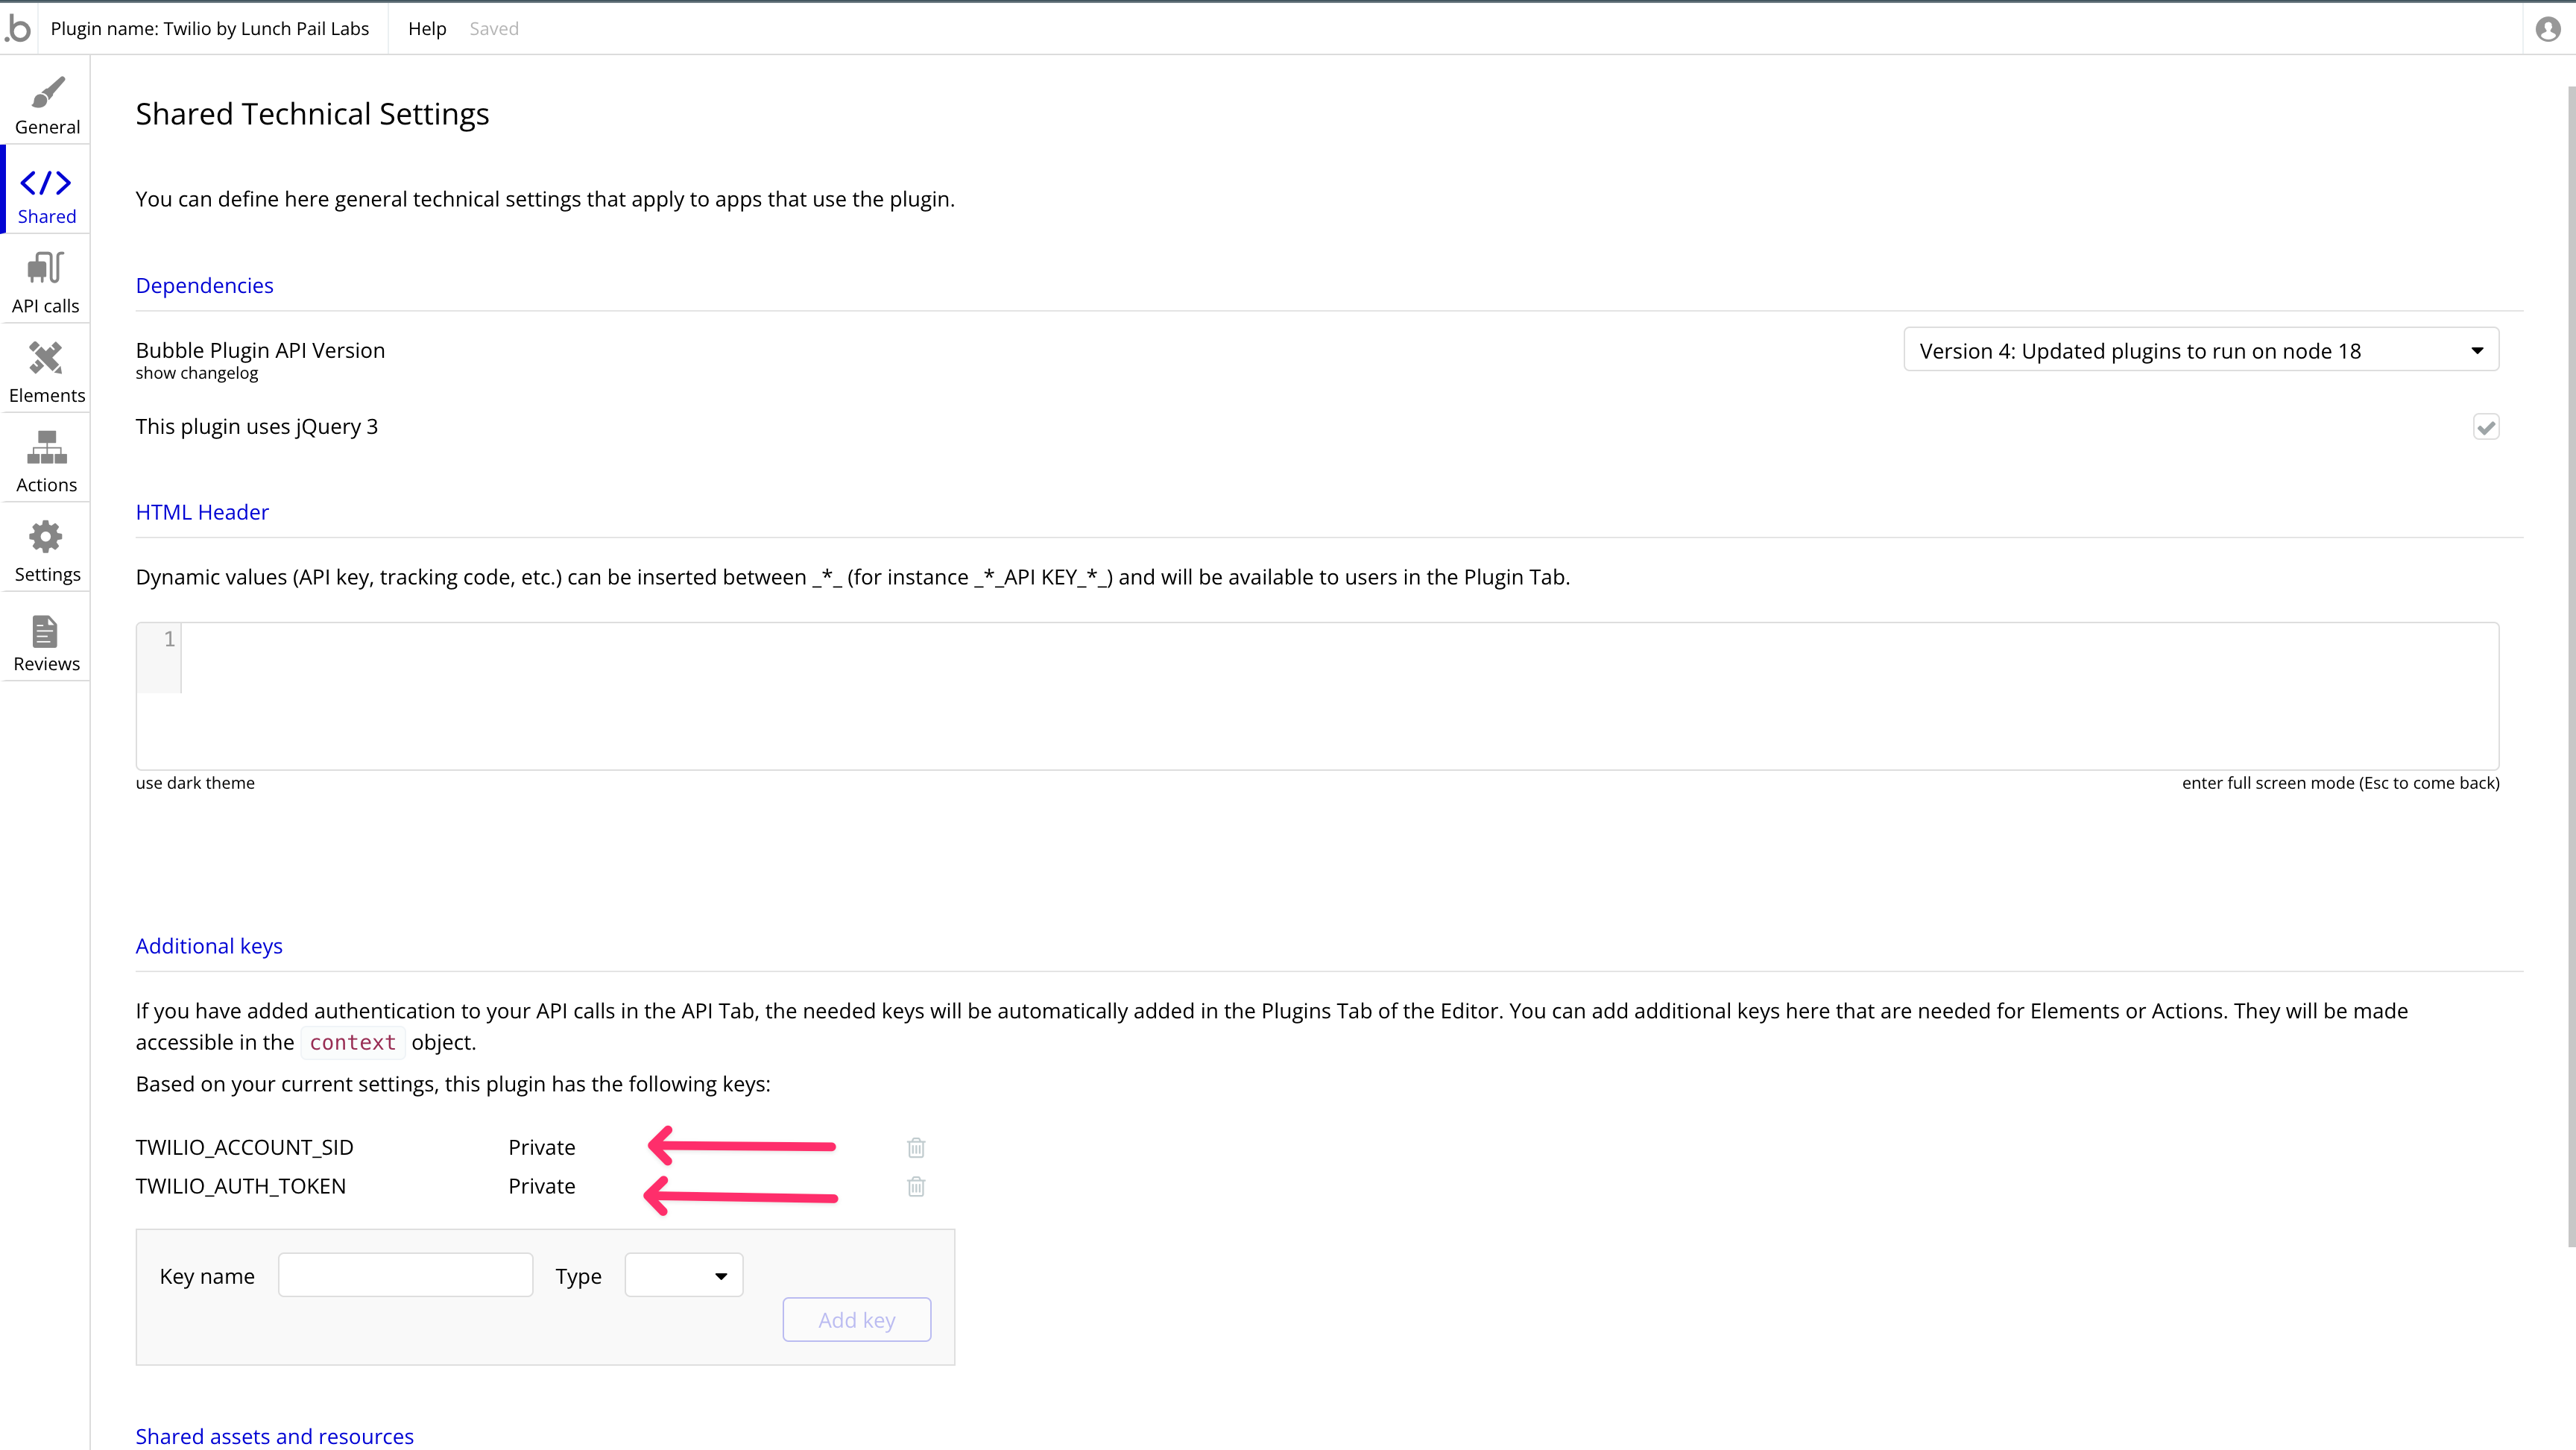
Creating the action to send text messages
Configuring General Settings and Input Fields
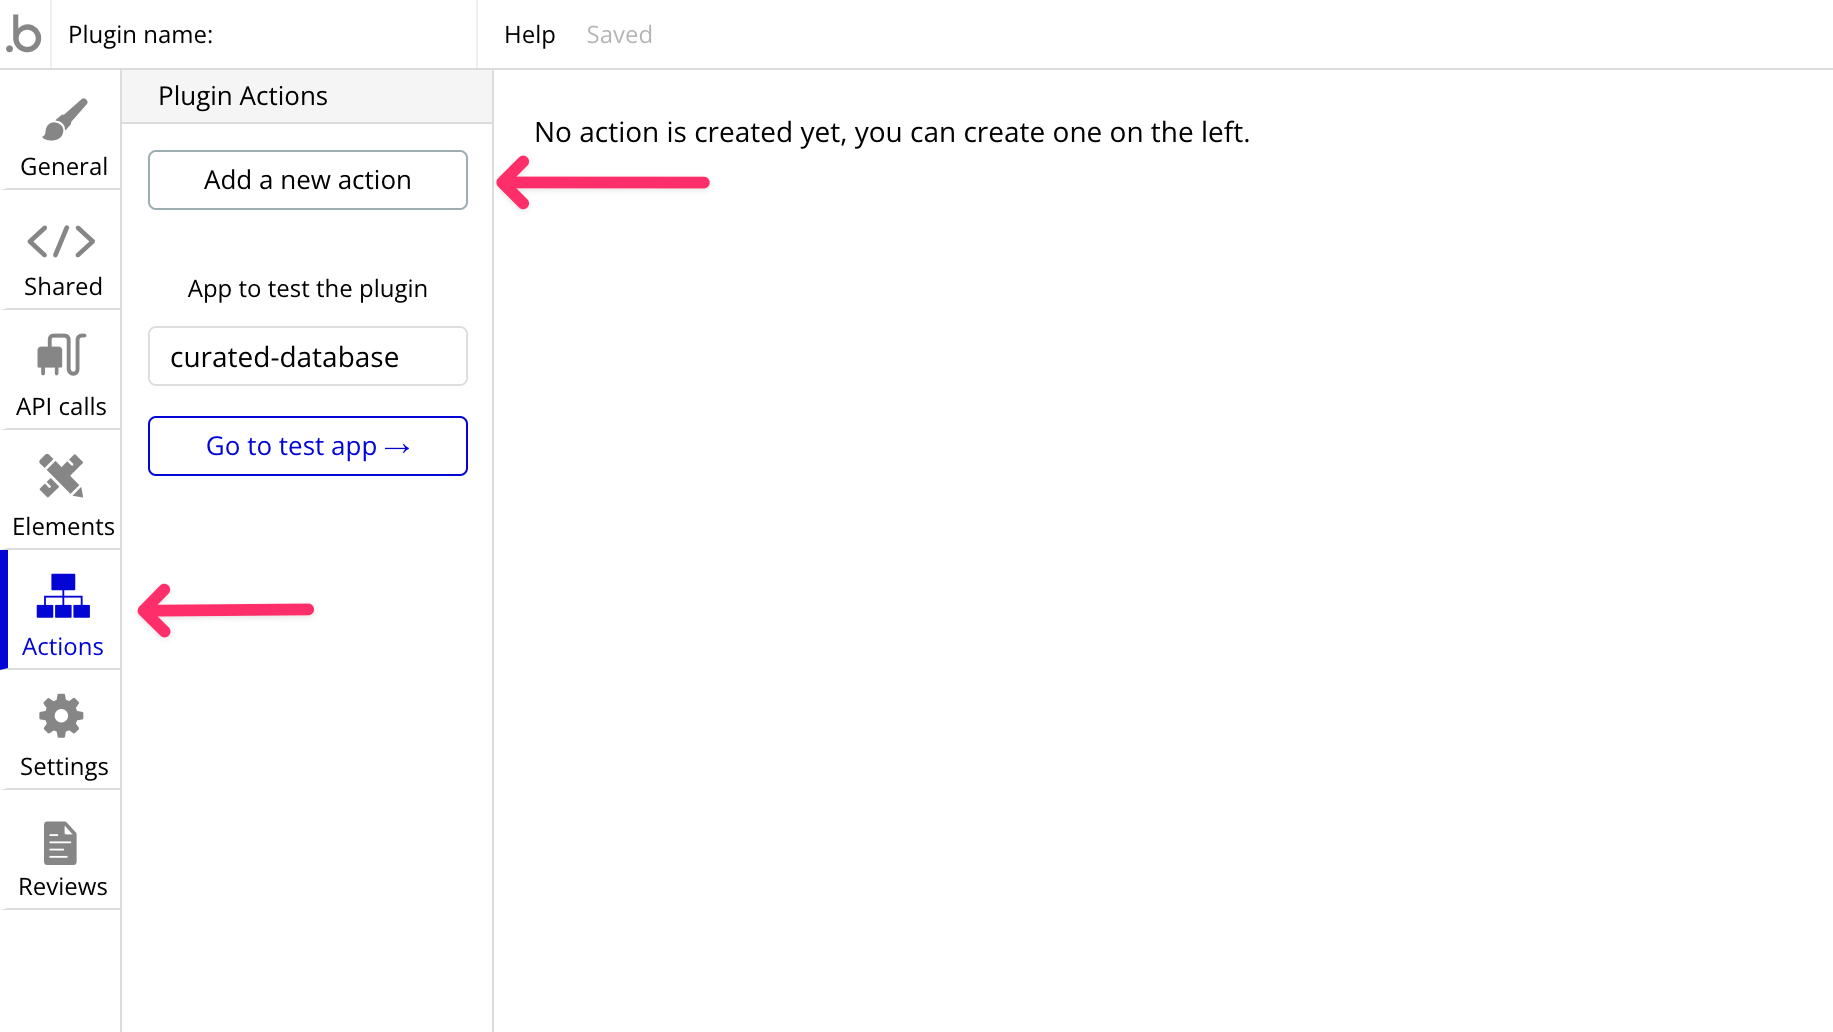
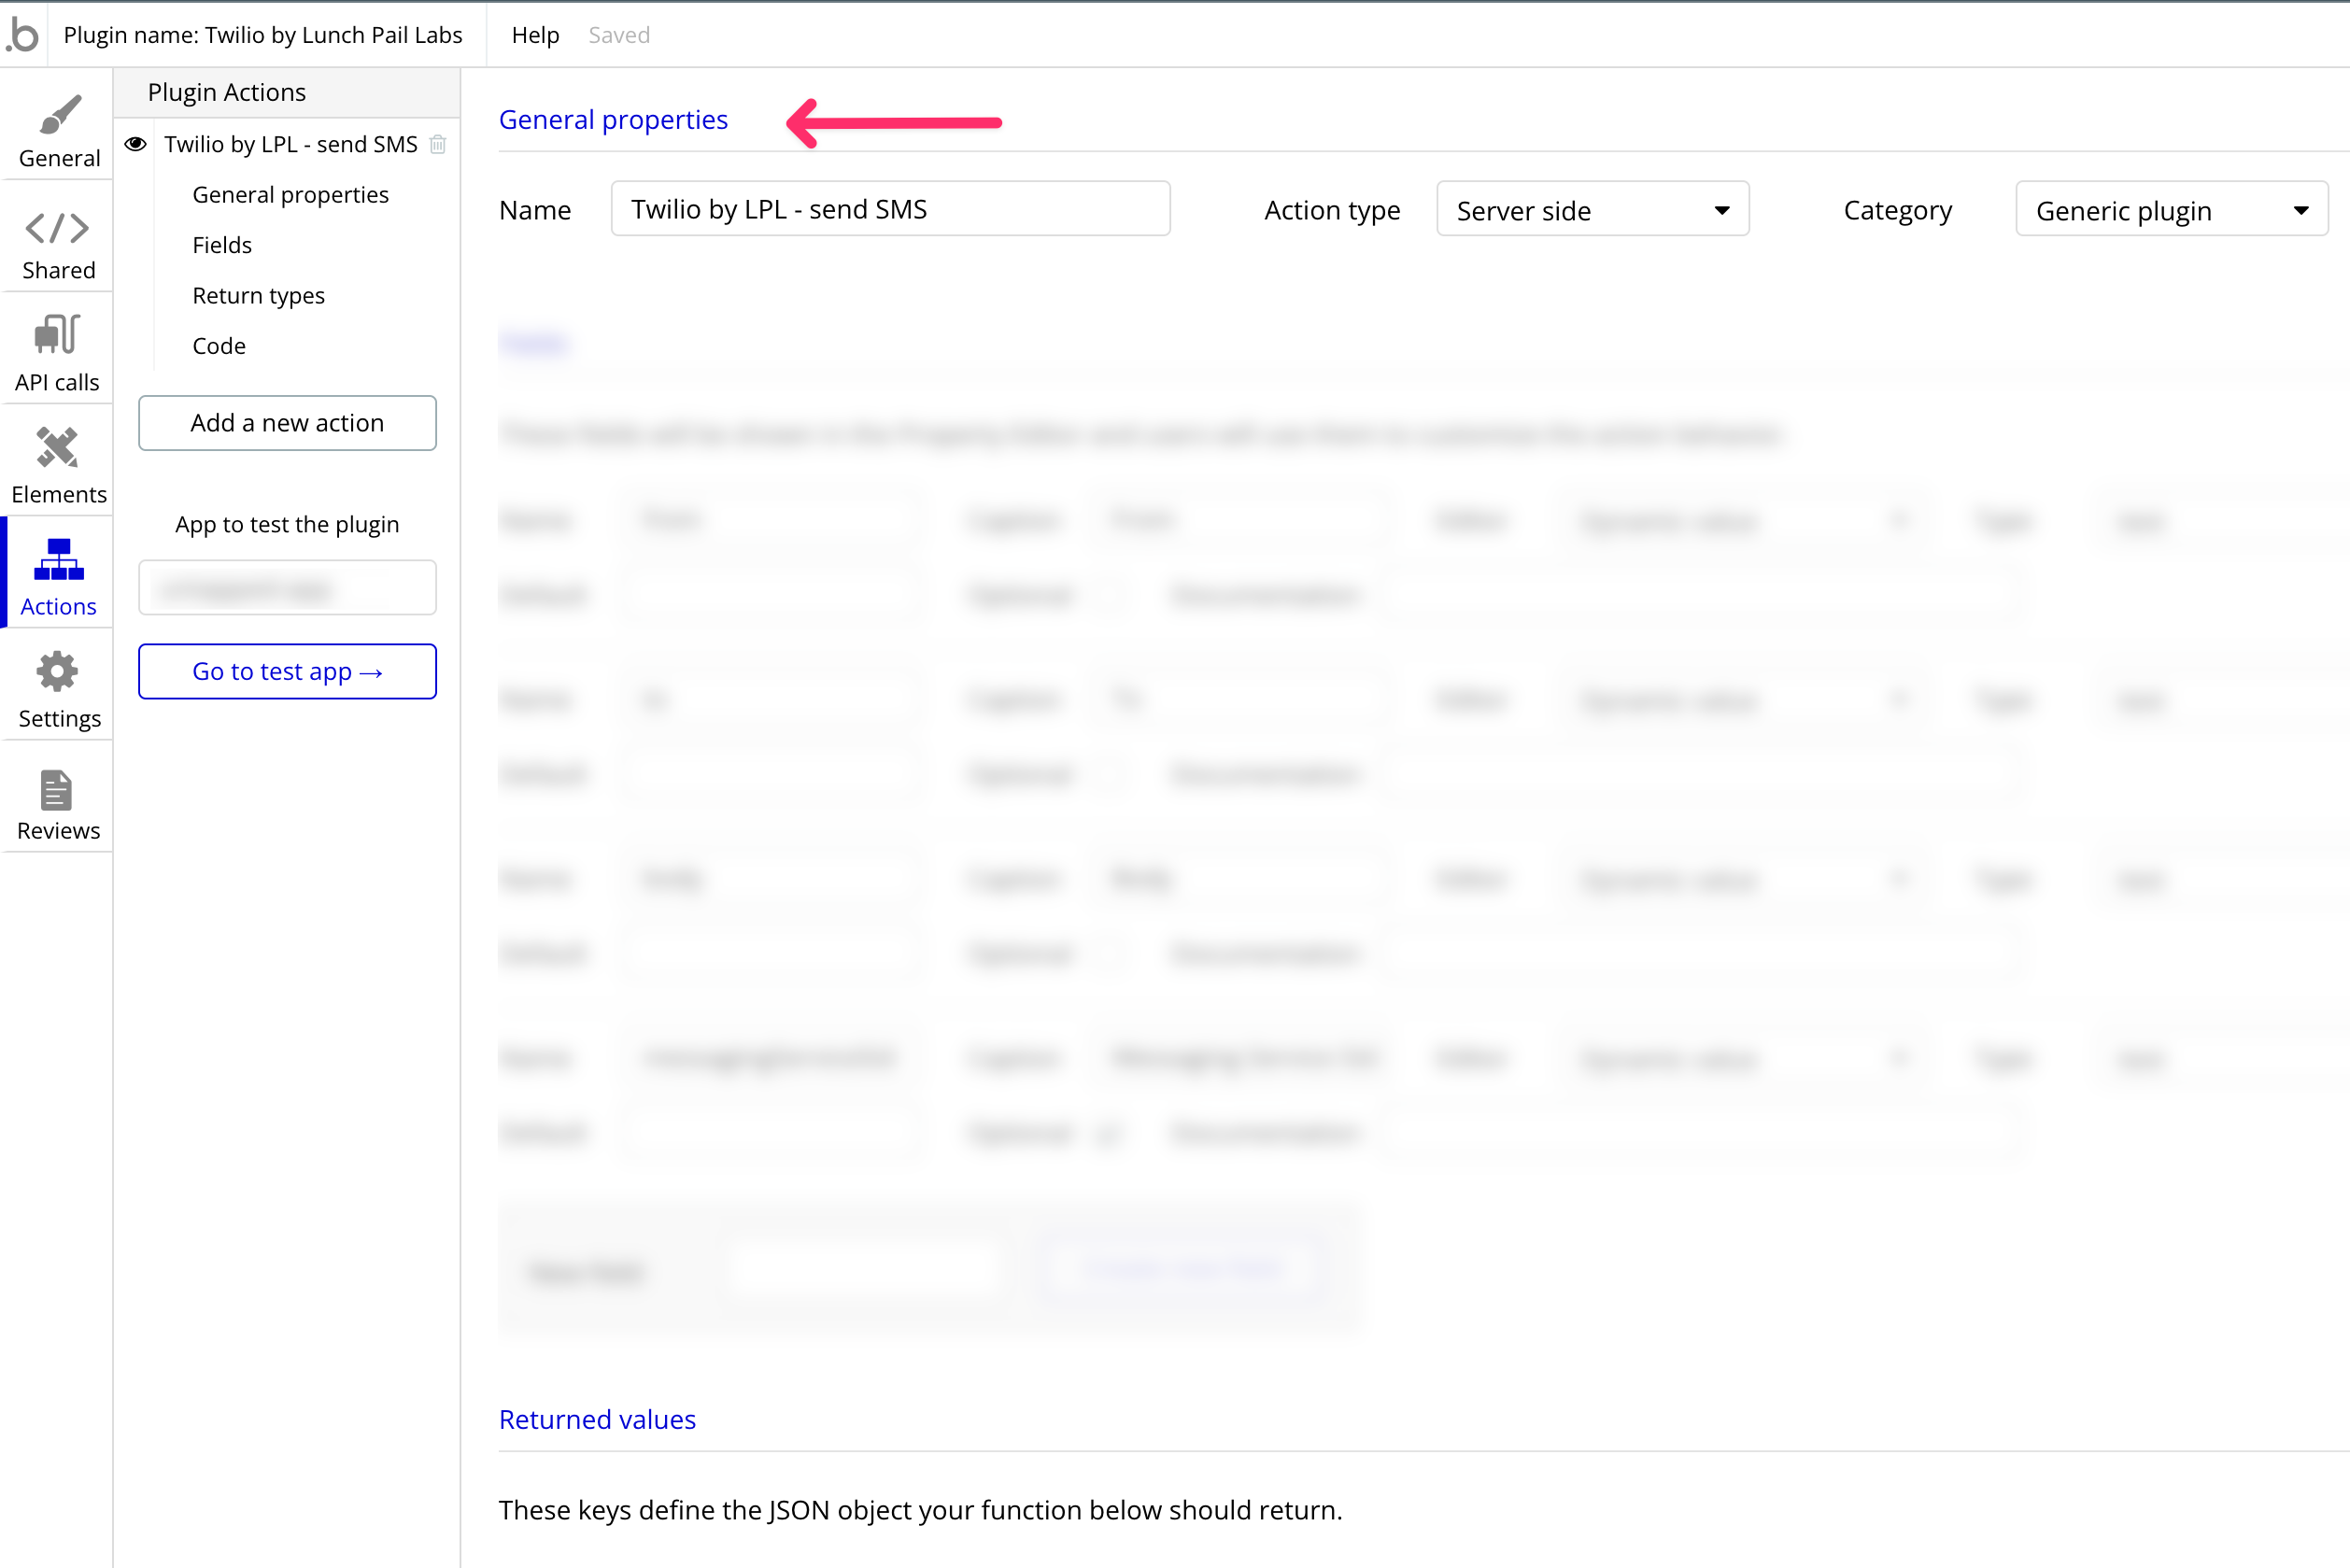
For this plugin, we can approach the action creation in two ways: using a plugin API call or crafting a custom action. To provide a tailored experience, we’ll opt for a custom action. Begin by establishing a new action within your Bubble plugin. Go to the Actions tab, select “Add a New Action,” and give your action a relevant name. This is what users will use to search your plugin action inside the workflow editor in Bubble.
We'll then set this action to operate server-side to ensure the secure handling of sensitive keys. Keep the action category as a 'generic plugin' for simplicity.
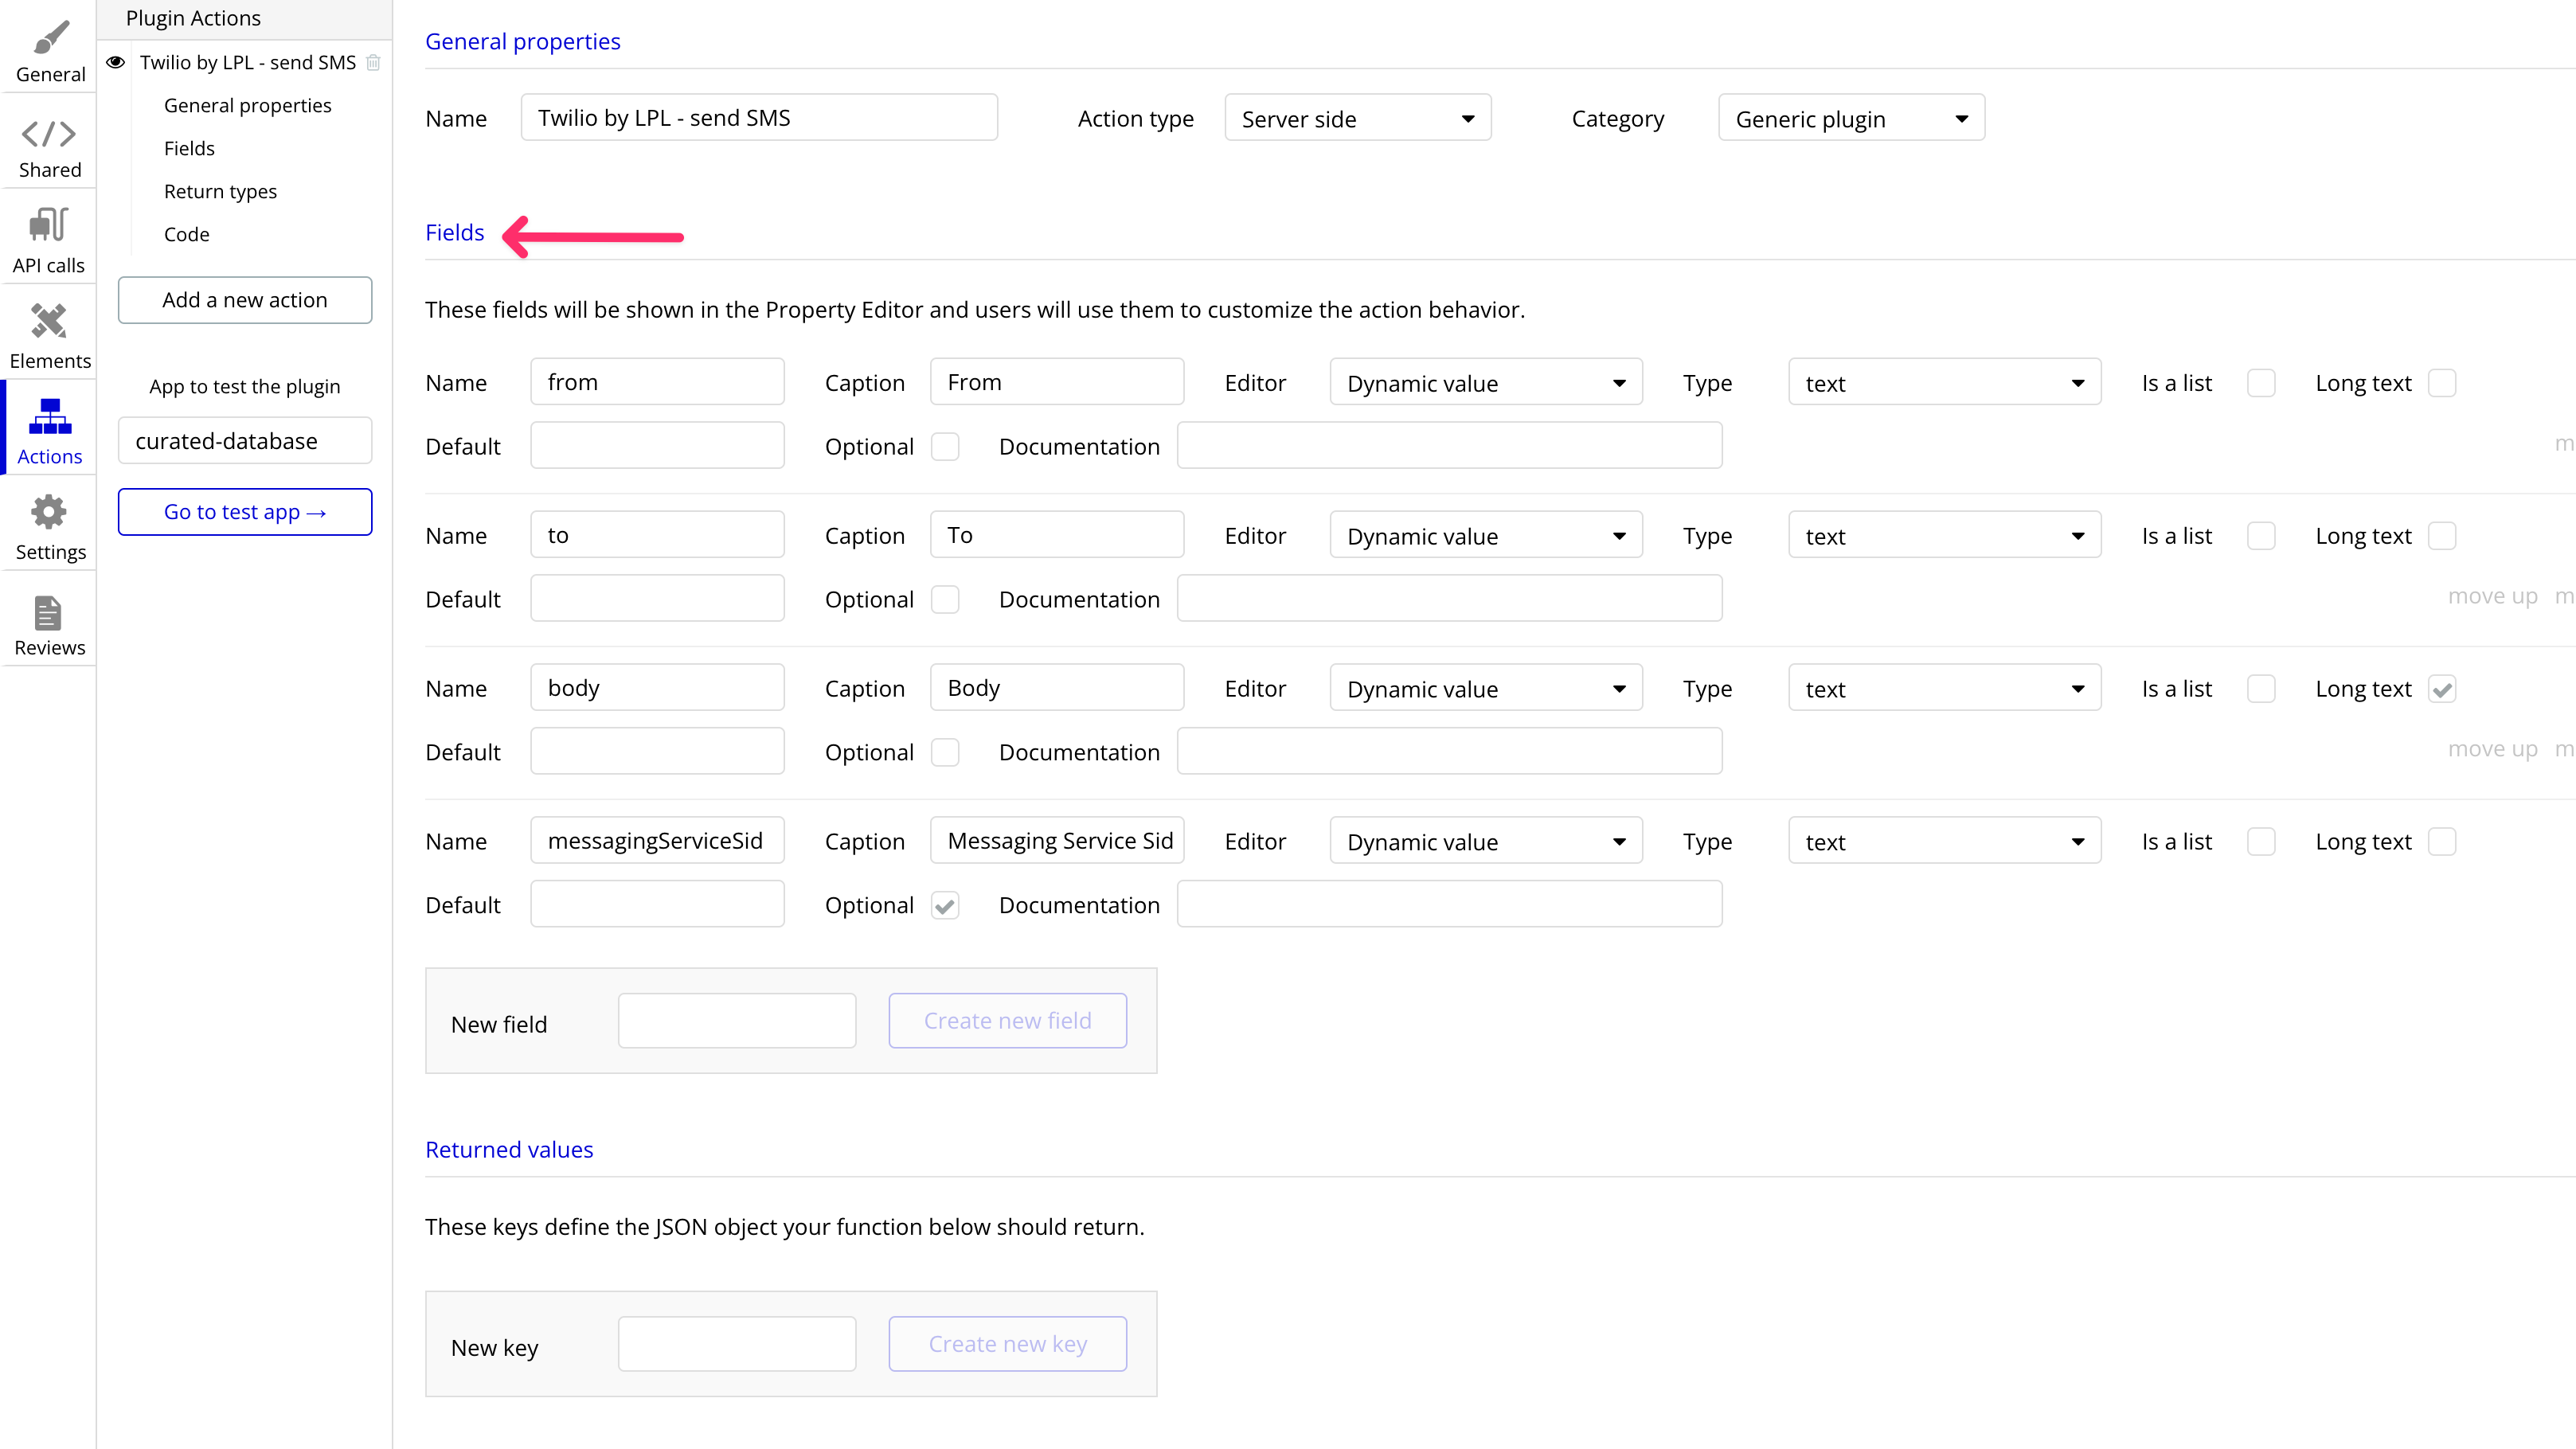
For the action to send text messages, we need to specify the following text input fields:
From: This should be one of your Twilio phone numbers.
To: Enter the recipient's number here. For trial accounts, make sure it's a verified number.
Body: This is the content of your SMS. Stick to Twilio’s messaging policy to prevent spam filters from blocking your texts. Set this field as ‘long text’ for longer messages.
MessagingServiceSid(optional): Use this if you want to associate your message with a specific messaging service.
Remember to write clear captions for each field to assist users during plugin configuration.
Integrating Twilio’s node module
Next, set up the
package.json to include Twilio’s node module. Your package.json should look like this:{
"dependencies": {
"twilio": "latest"
}
}After adding the
package.json, build the packages to make the Twilio module available within your action.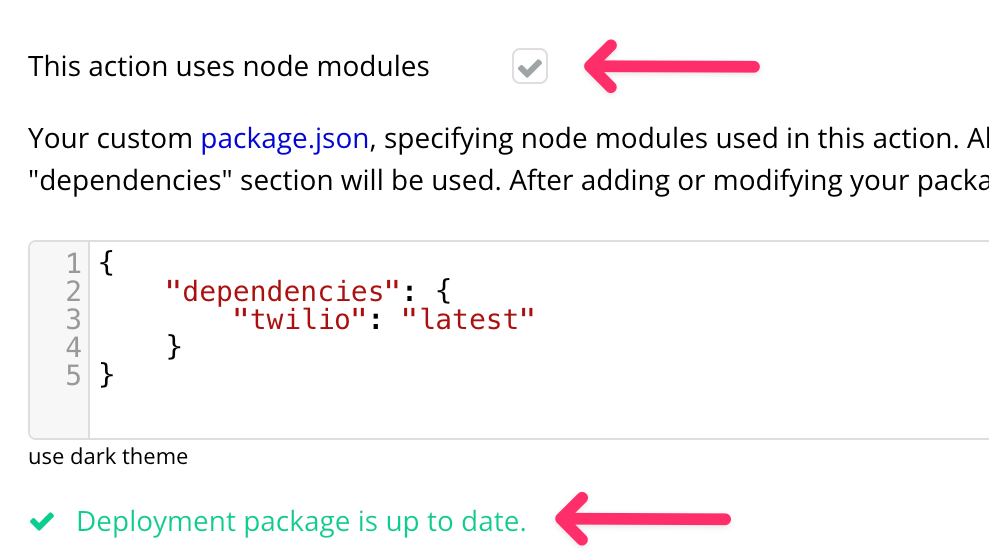
Now onto our action code. First, we’ll fetch our
TWILIO_ACCOUNT_SID and TWILIO_AUTH_TOKEN and keys from Bubble's context object. Any private keys that you define earlier in the project when setting up the shared keys are made accessible in the context object. Import Twilio using Node.js' require function. async function(properties, context) {
const accountSid = context.keys["TWILIO_ACCOUNT_SID"];
const authToken = context.keys["TWILIO_AUTH_TOKEN"];
}Implementing Twilio’s SMS action code
Begin by retrieving the necessary Twilio credentials from the Bubble context object. These are the private keys you established earlier. Next, initialize the Twilio client within your asynchronous function and define the message data using the inputs provided by the user. Bubble stores any input fields that we defined earlier in a properties object.
async function(properties, context) {
  const accountSid = context.keys["TWILIO_ACCOUNT_SID"];
  const authToken = context.keys["TWILIO_AUTH_TOKEN"];

//create a Twilio client
  const client = require('twilio')(accountSid, authToken);

const messageData = {
      from: `+${properties.from}`,
      body: properties.body,
      to: `+${properties.to}`
...
}
We'll include the
messagingServiceSid only if it's been provided by the user and then attempt to send the message:
   // Include messagingServiceSid if it's provided
    if (properties.messagingServiceSid) {
      messageData.messagingServiceSid = properties.messagingServiceSid;
    }

    try {
    // Send the message using Twilio client
    const message = await client.messages.create(messageData);
    // Optionally log the message SID on successful delivery
  } catch (error) {
    // Implement error handling depending on the error type
    throw new Error(`Failed to send message: ${error.message}`);
  }
}
For successful message delivery, we'll handle the confirmation and for any errors, we'll implement error-handling strategies suitable for your application's needs. This is what the full code snippet should look like
async function(properties, context) {
  // Initialize Twilio credentials from Bubble context
  const accountSid = context.keys["TWILIO_ACCOUNT_SID"];
  const authToken = context.keys["TWILIO_AUTH_TOKEN"];
  const client = require('twilio')(accountSid, authToken);

  // Set up message data with input properties
  const messageData = {
    from: `+${properties.from}`,
    body: properties.body,
    to: `+${properties.to}`
  };

  // Include messagingServiceSid if it's provided
  if (properties.messagingServiceSid) {
    messageData.messagingServiceSid = properties.messagingServiceSid;
  }

  try {
    // Send the message using Twilio client
    const message = await client.messages.create(messageData);
    // Optionally log the message SID on successful delivery
  } catch (error) {
    // Implement error handling depending on the error type
    throw new Error(`Failed to send message: ${error.message}`);
  }
}
Trying the plugin in Bubble
Now that we’ve built the plugin in Bubble, not let’s see it in action. Put the app you want to test within the “App to test the plugin”. You can find the bubble ID within your editor URL

Then in the plugins tab, you can install the plugin and add your
Twilio_Auth_Token and your Twilio_Account_Sid which you can find in the account settings of your Twilio console.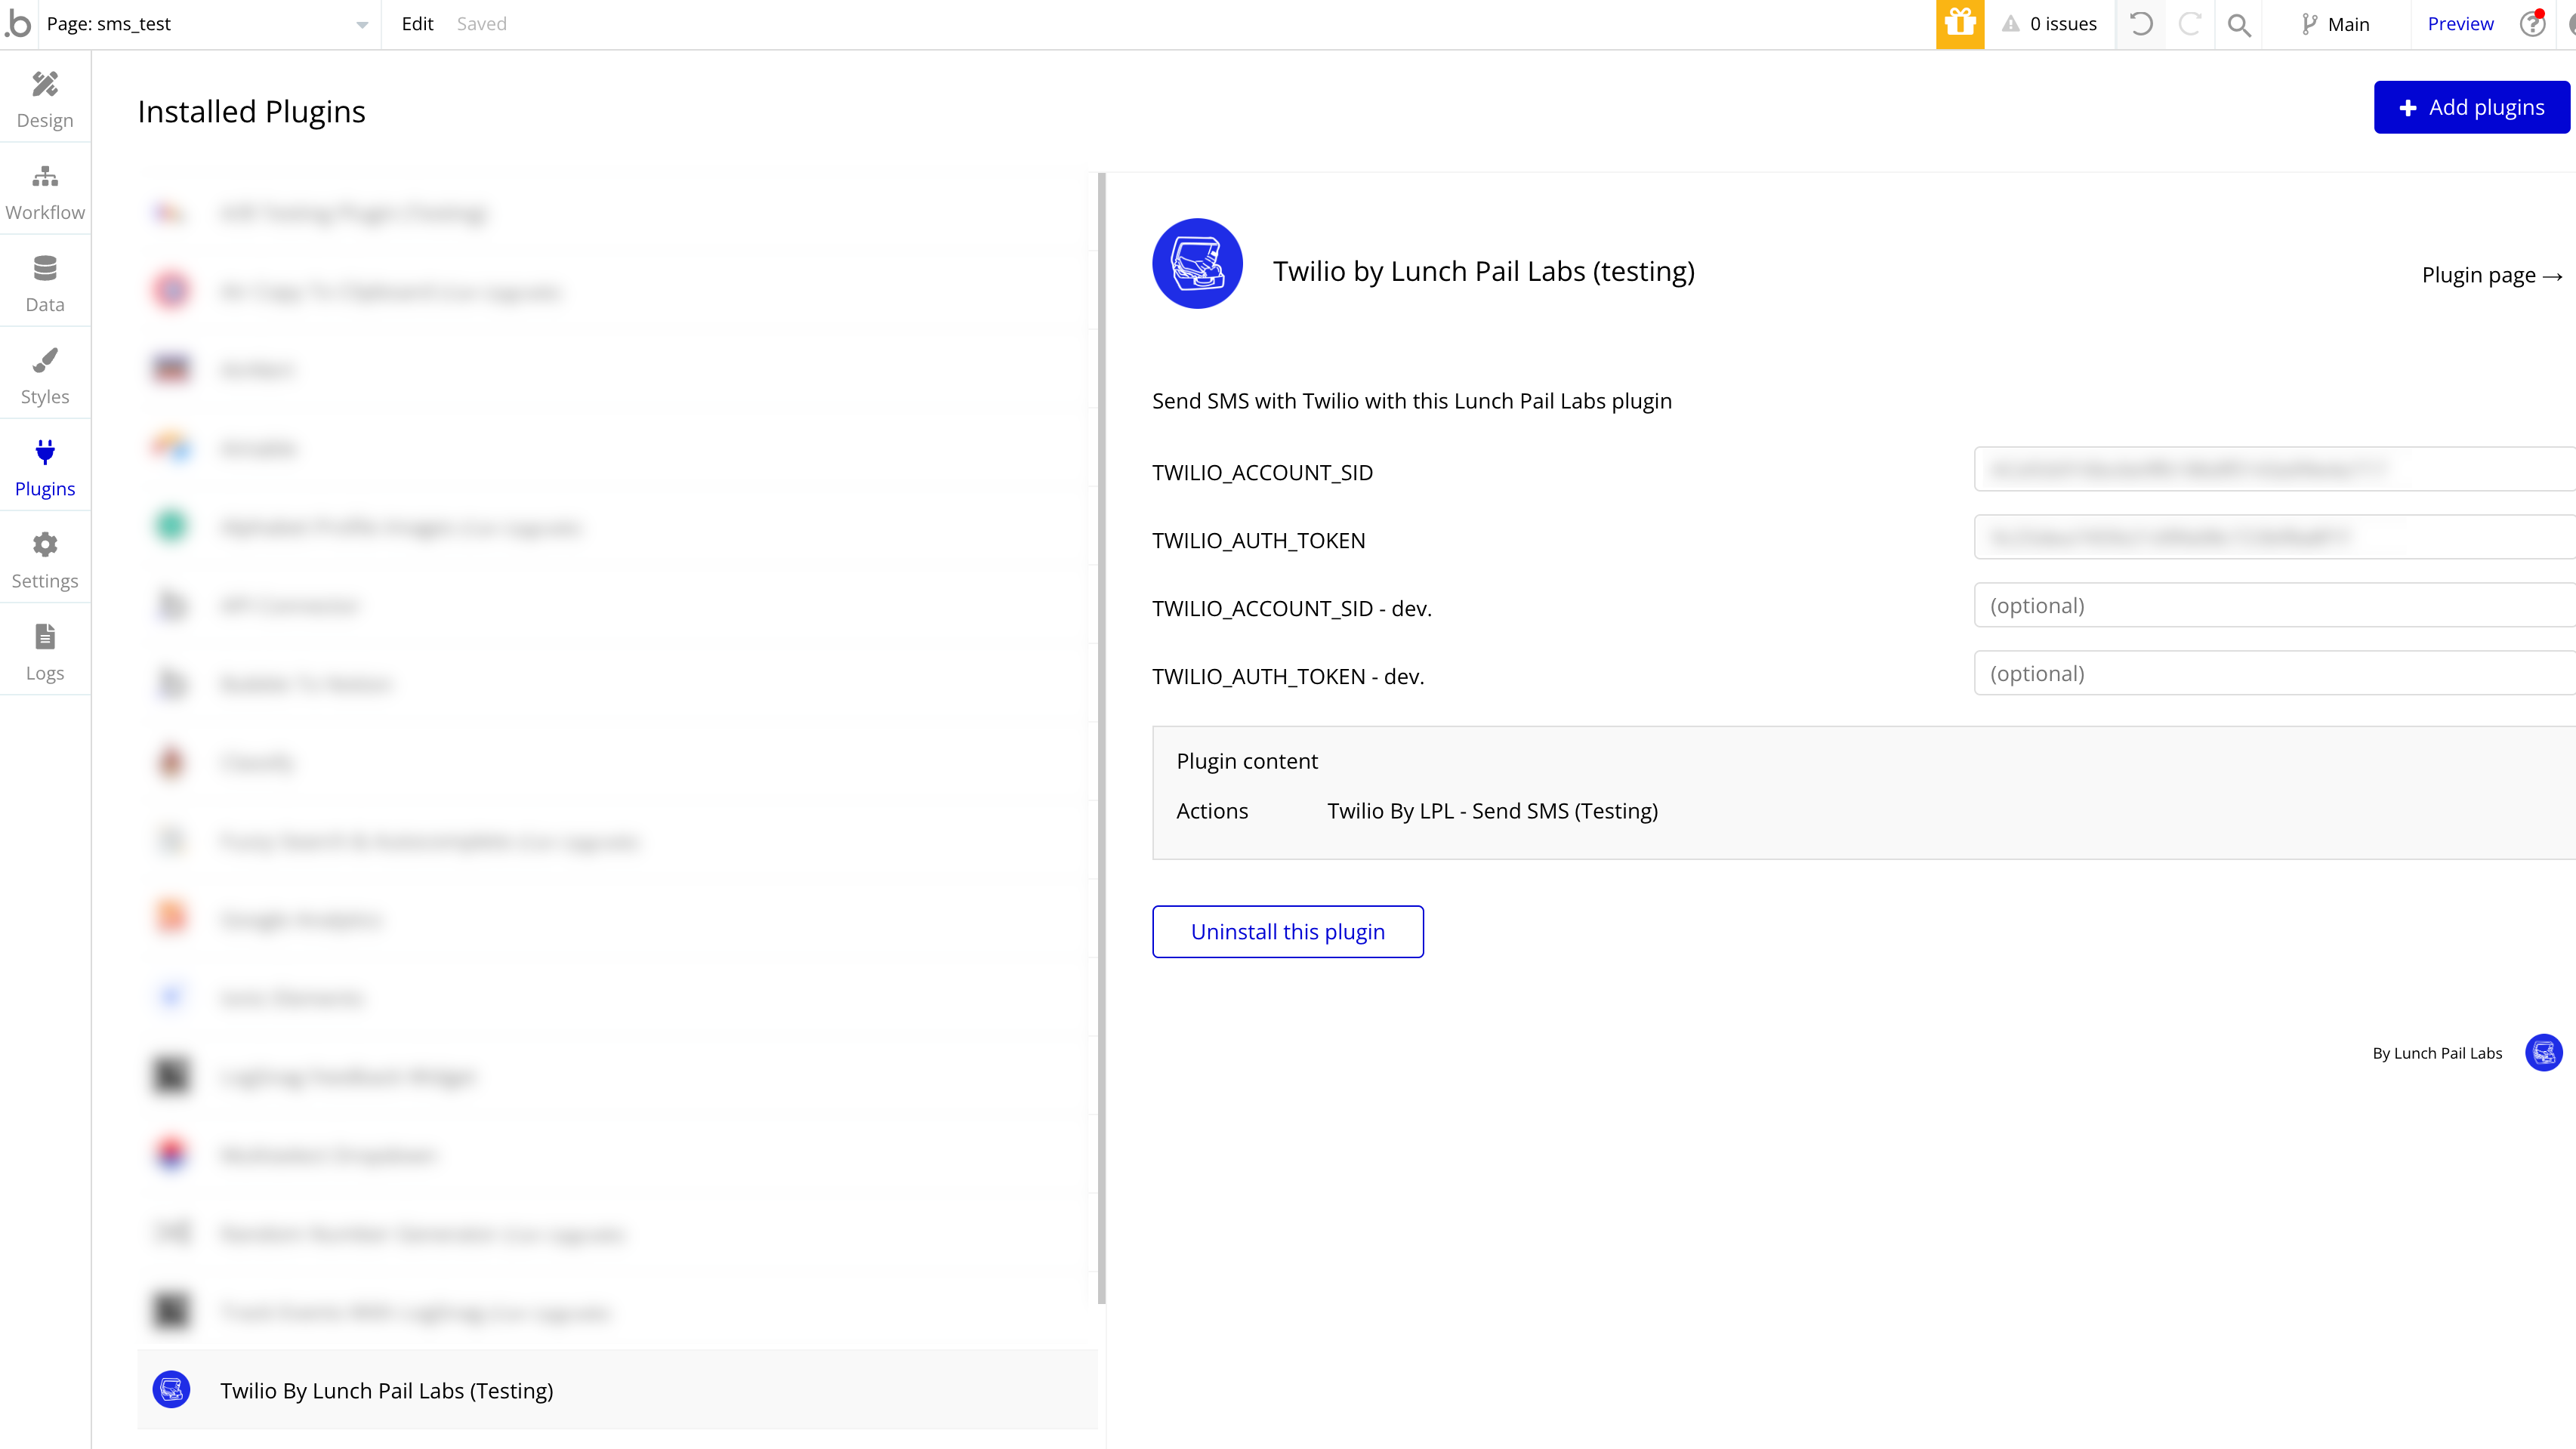
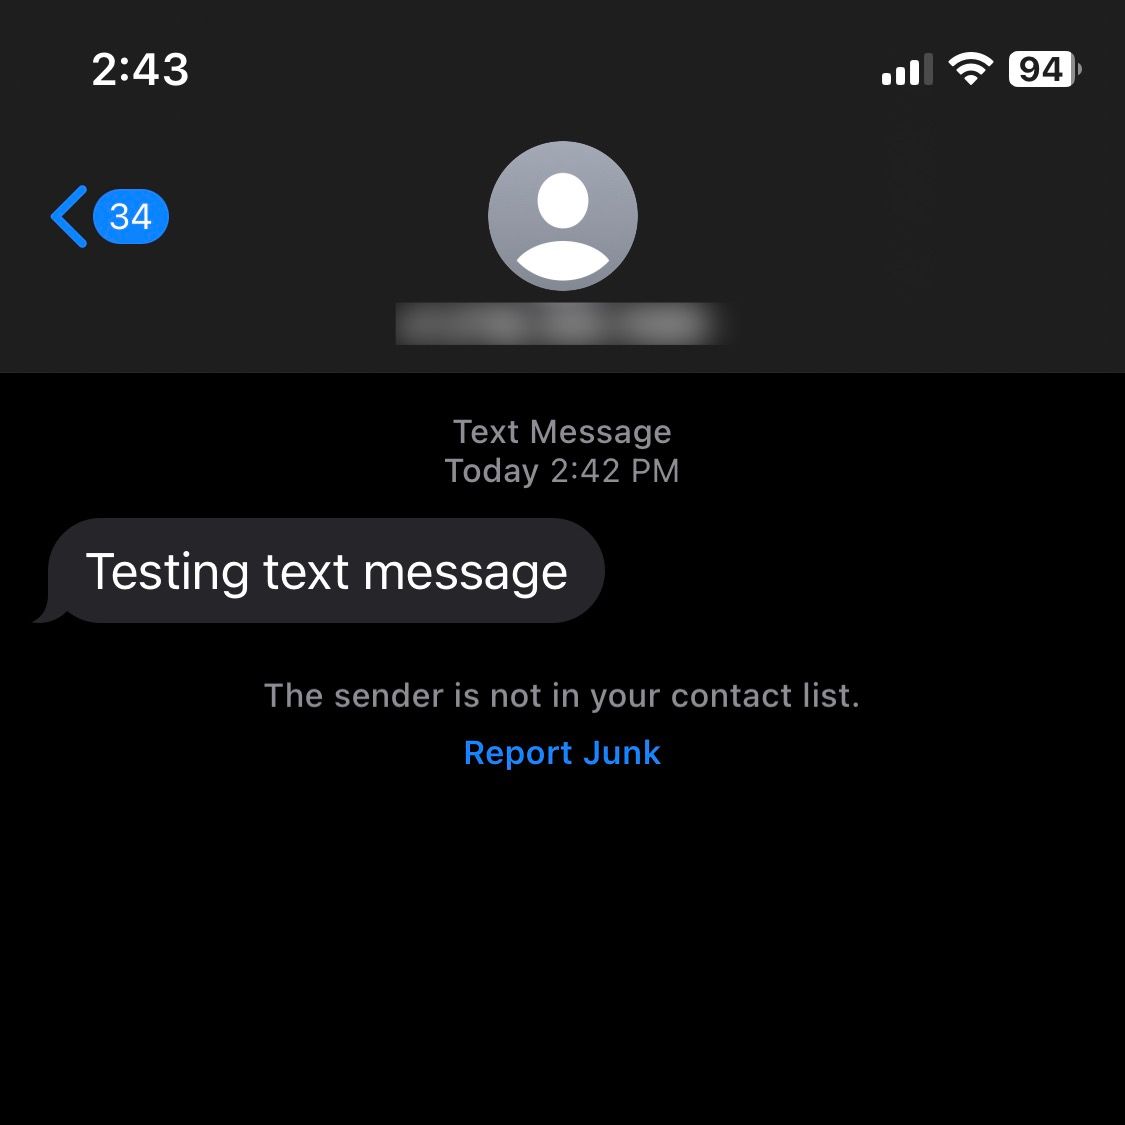
For demonstration purposes, create a test page. On this page, design a simple interface with a button that, when clicked, triggers the sending of a test text message. Be sure to fill in the message details accordingly.
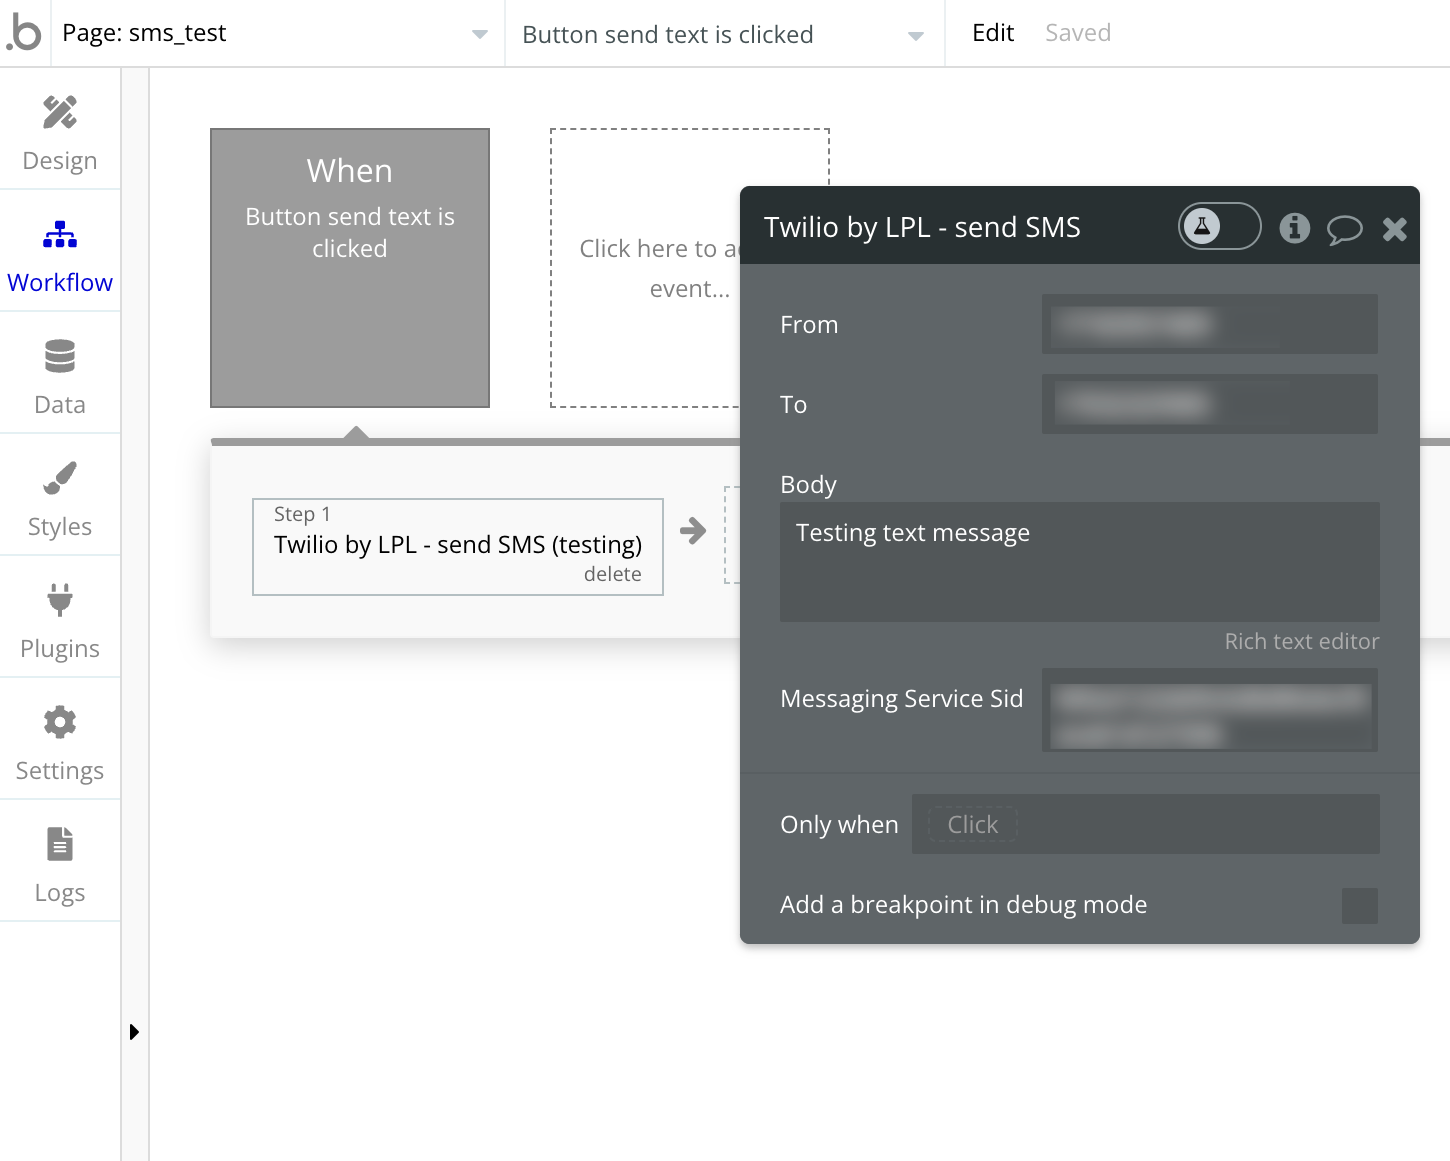
With everything set up, press the button to send a test message. Then, wait to receive the text message on your phone to confirm everything is working as expected.
Conclusion
That wraps up this introductory tutorial on integrating Twilio’s messaging capabilities with Bubble through a custom plugin. There's a whole array of additional functions you could include to make your messaging plugin even more robust, like leveraging more options from Twilio’s programmable messaging, Twilio voice, or WhatsApp.
I’d be thrilled to see what you come up with using this guide, so don’t hesitate to shoot me a note at hey@lunchpaillabs.com or drop a DM on Twitter!
.png?table=block&id=9ba33ac6-8e12-48f6-b980-4333b612ec56&cache=v2)
.png?table=block&id=b31033e3-c374-4954-8f8c-5d275689d853&cache=v2)

.png?table=block&id=212977e8-a999-4315-ac12-fee59313593e&cache=v2)